Hi there!
So, for my next crochet challenge I didn’t really know what to learn. But luckily Hug in a Blanket UK were there again.
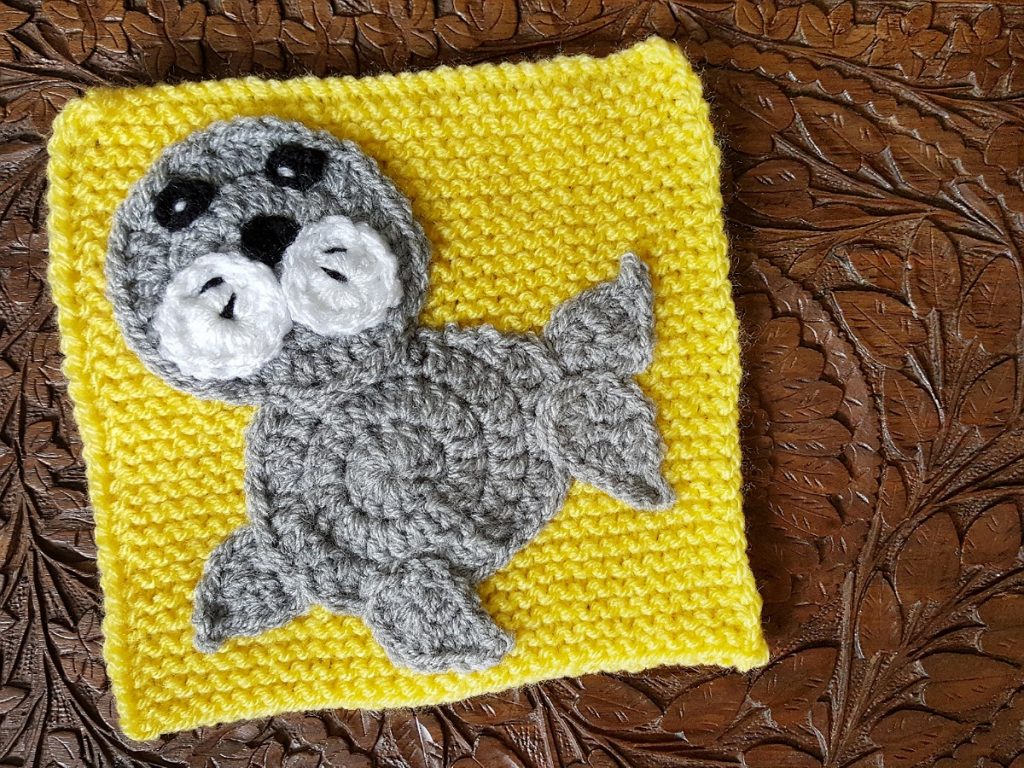
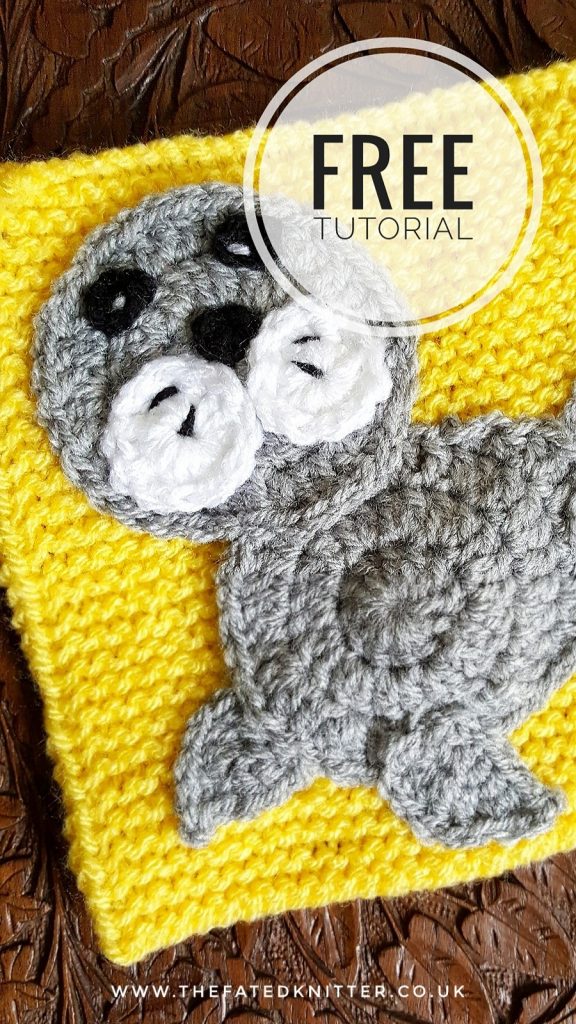
A blanket was in need of some sea animals for a little boy who wants to be a seal trainer when he grows up.
With several visits to Colchester Zoo and my own little boy being fond of the sealions, I signed up to make a seal. (And a penguin but that’s for another time).
I figured out the head and face quite easily. It’s just circles.
And the body was another circle with a part round.
But I got stuck at the flippers.
After browsing the internet I found a shape I thought would work.
It was a simple leaf.
I’d never made a leaf shape before. It also required me to crochet into both sides of the starting chain. Something I’d also never done.
So this was going to be my next new lesson.
I started about making this leaf shape, and surprisingly quickly (and after one failure) I had four leaves. Ahem… flippers, sorry.
Note that the pattern is written in UK Crochet Terms, and the applique is shown on a 6″ square.
Materials
- DK weight yarn in grey, white, and black.
- 3.5mm crochet hook
- Scissors
- Darning needle
Instructions
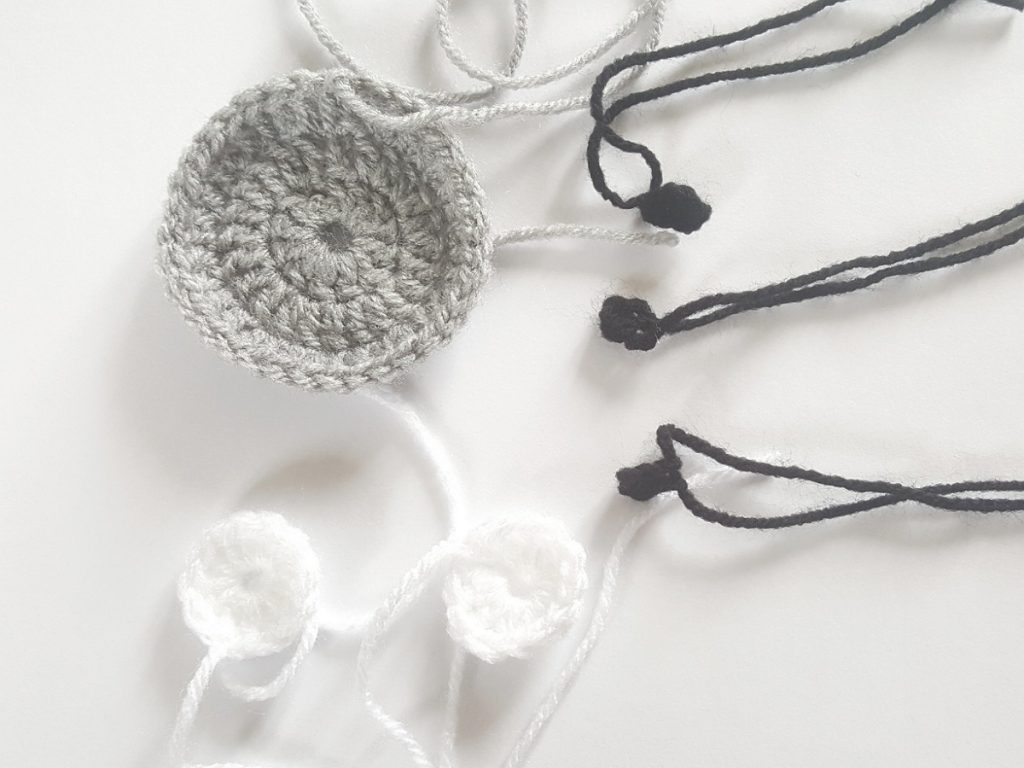
1. Starting with the head and face, you will need to make 6 circles as follows:
- One circle for the head in the grey yarn is made with 3 rounds of treble crochet.
- Two circles for the cheeks in the white yarn are each made with 1 round of treble crochet.
- Three circles for the eyes and nose in the black yarn are each made with a chain of 4 stitches joined in the round with a slip stitch.
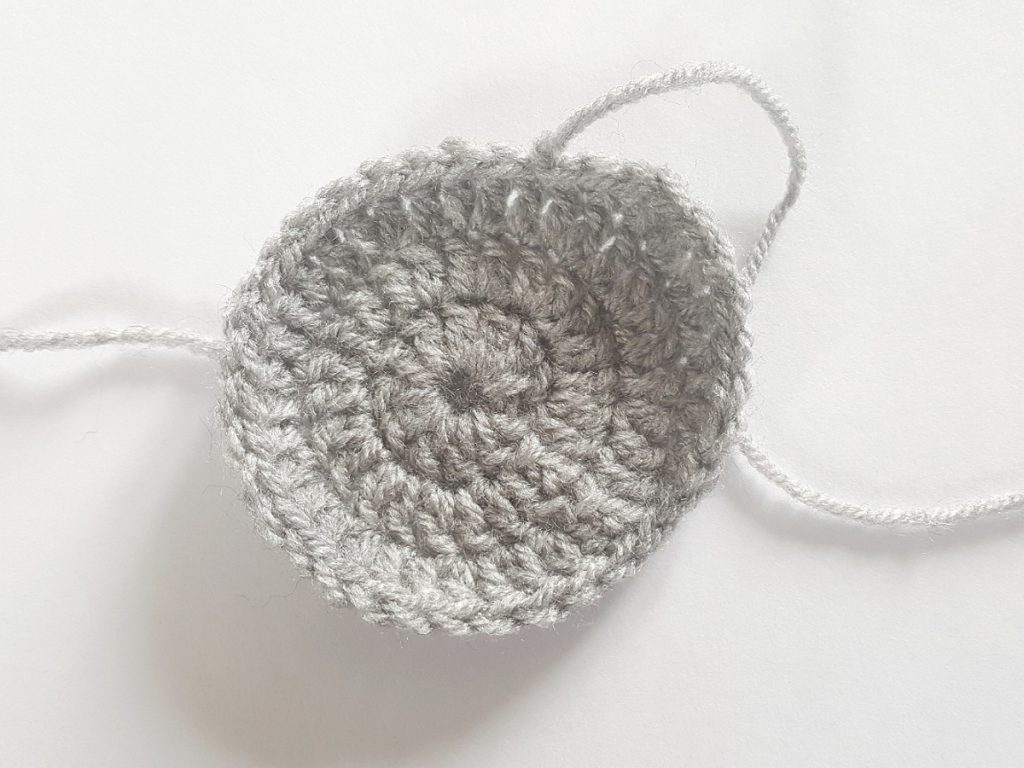
2. The body is next in the grey yarn. Start with 3 full rounds of treble crochet. Then one part round as follows: double crochet in the next stitch, half treble crochet in the next stitch, two treble crochets in the next stitch, treble crochet in the next, treble crochet in the next, two treble crochets in the next stitch, half treble crochet in the next, double crochet in the next, slip stitch in the next. Bind off.
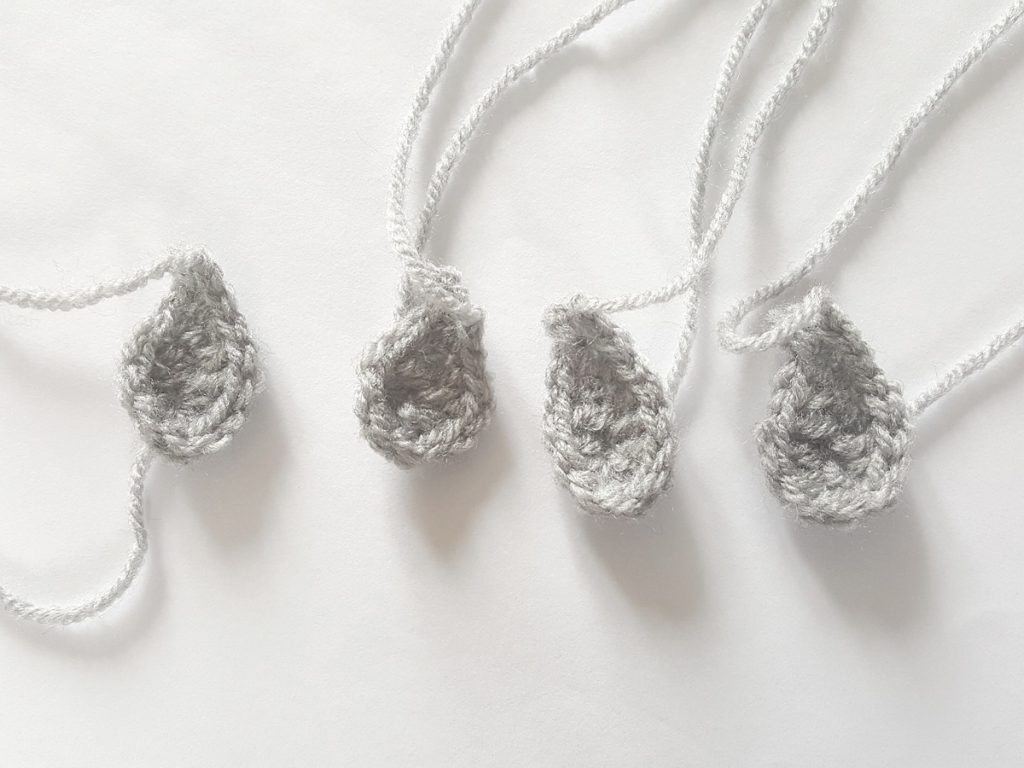
3. Next, come the flippers. You will need to make four of these.
Chain 6. Slip into the 2nd chain from the hook, double crochet in the next stitch, half treble crochet in the next, treble crochet in the next, seven treble crochet in the next (this should turn around the end and have the opposite side of the original chain ready to be worked), treble crochet in the next, half treble crochet in the next, double crochet in the next, slip stitch and bind off.
4. Tighten up the centre of the circles for the head and cheeks. Sew these ends in. Sew the cheeks on to the head and sew in one of the ends for now. You will need the other white end later.
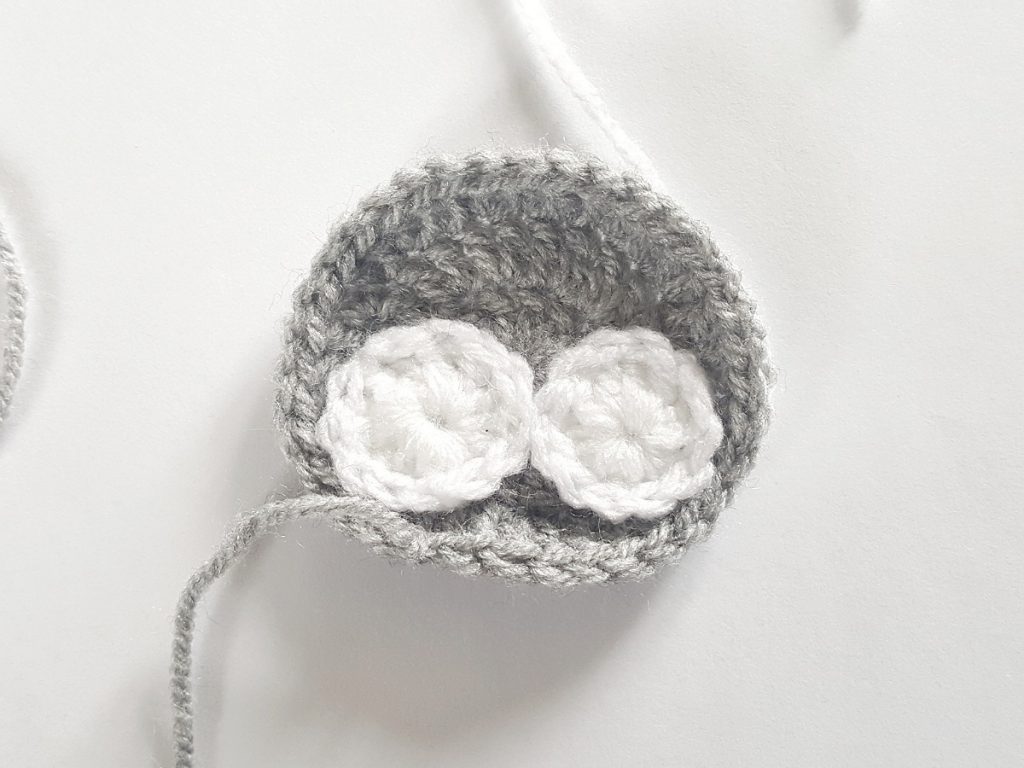
5. Sew one of the black circles on for the nose. Using one of the ends sew two stitches in each cheek. Sew in the other end.
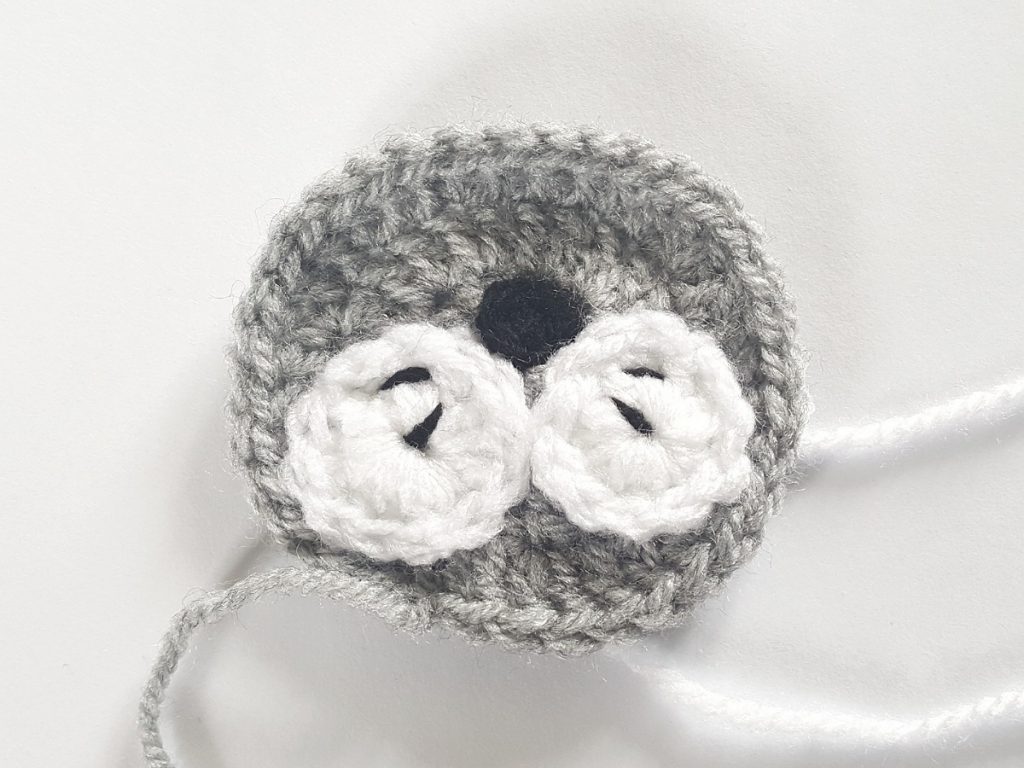
6. Sew the other two black circles on for eyes. Sew in all the black ends. Using the white end you didn’t sew in earlier, sew two white bits into the eyes and then sew in the rest of the end. You should only have the outer grey end of the head left.
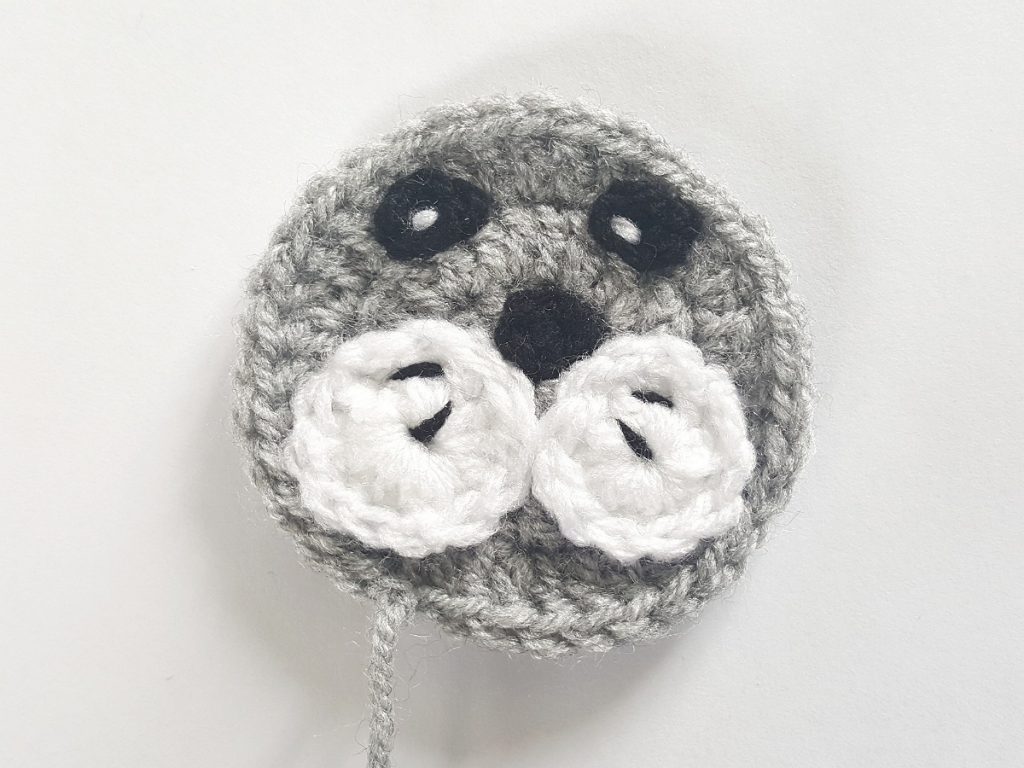
7. Tighten up the centre of the body and sew in the end. Sew the head on to the body but do not sew in the end. Note that the part round of the body is to be at the side away from the head.
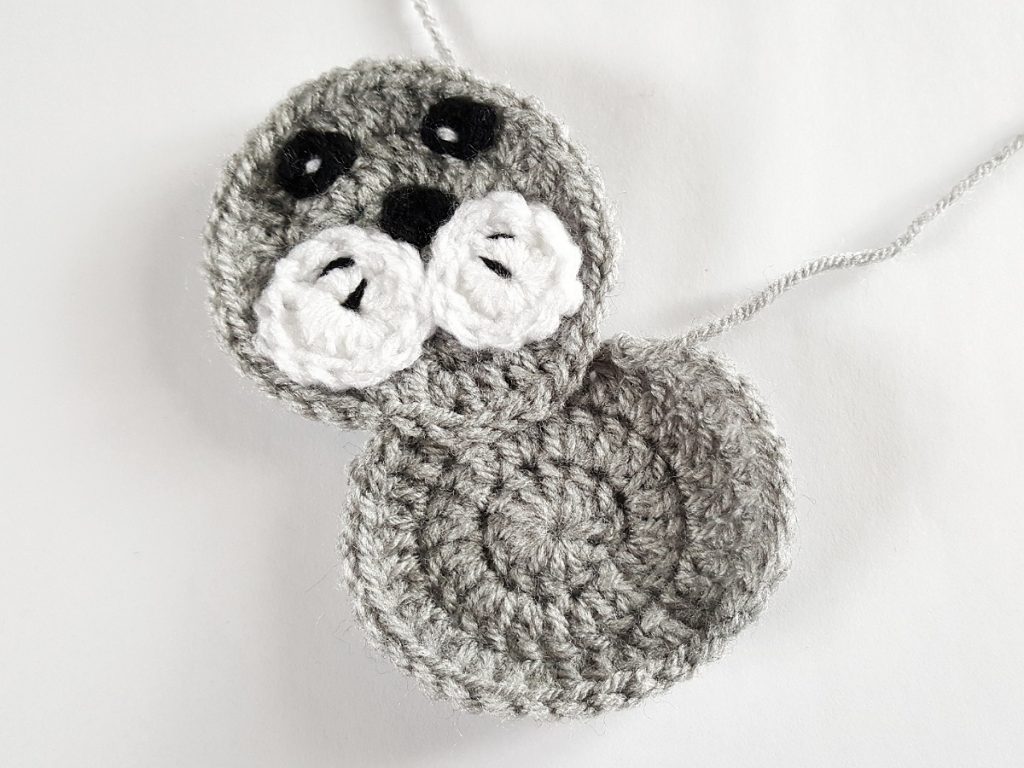
8. Using the centre end of the flippers, sew one flipper to the bottom front of the body, and one flipper to the bottom back of the body. Sew in the centre ends, but not the ends at the pointy end of the flippers.
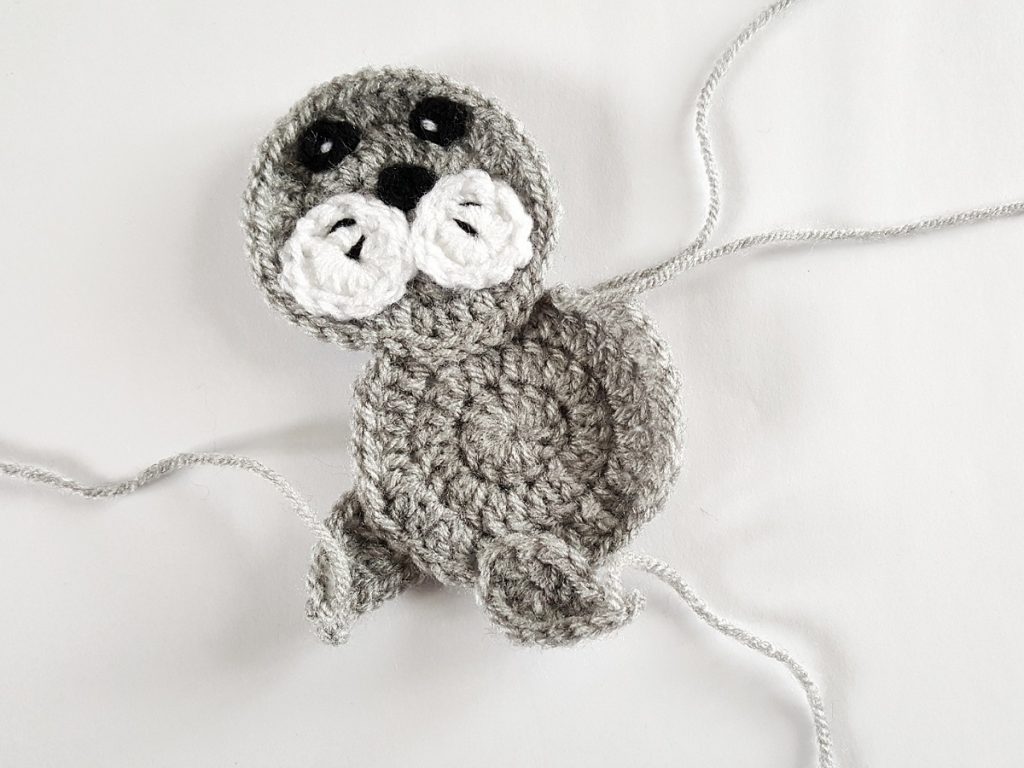
9. Sew the remaining two flippers on the part round of the body. Again use the centre ends to do this, with one flipper on the front and one flipper on the back.
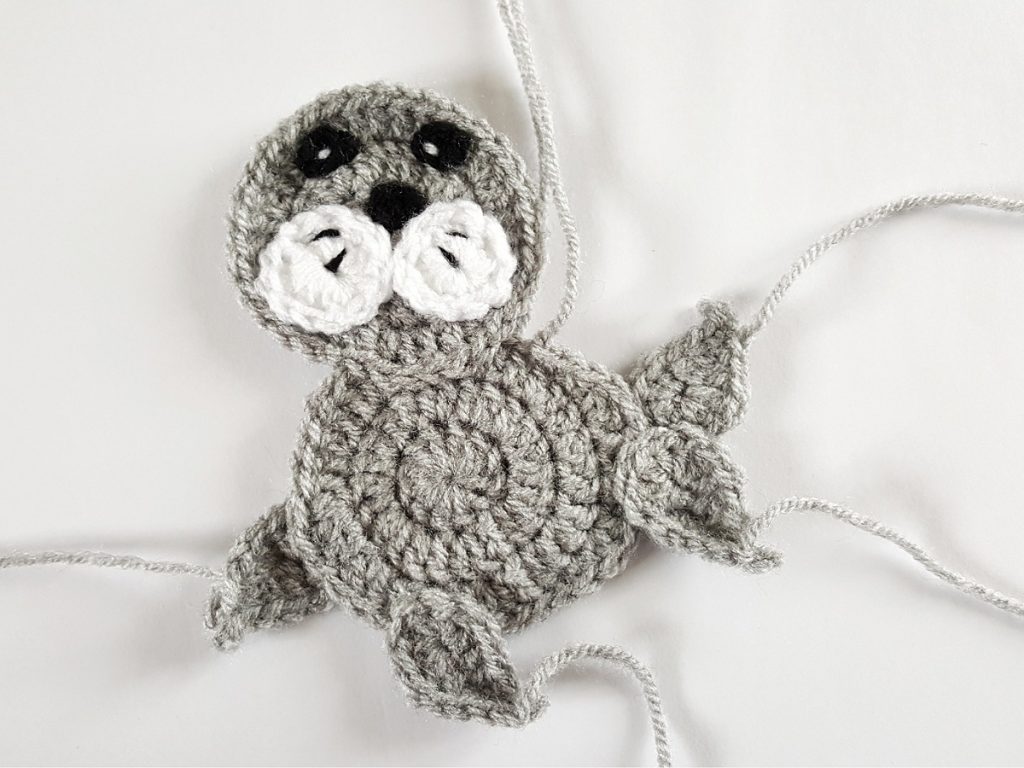
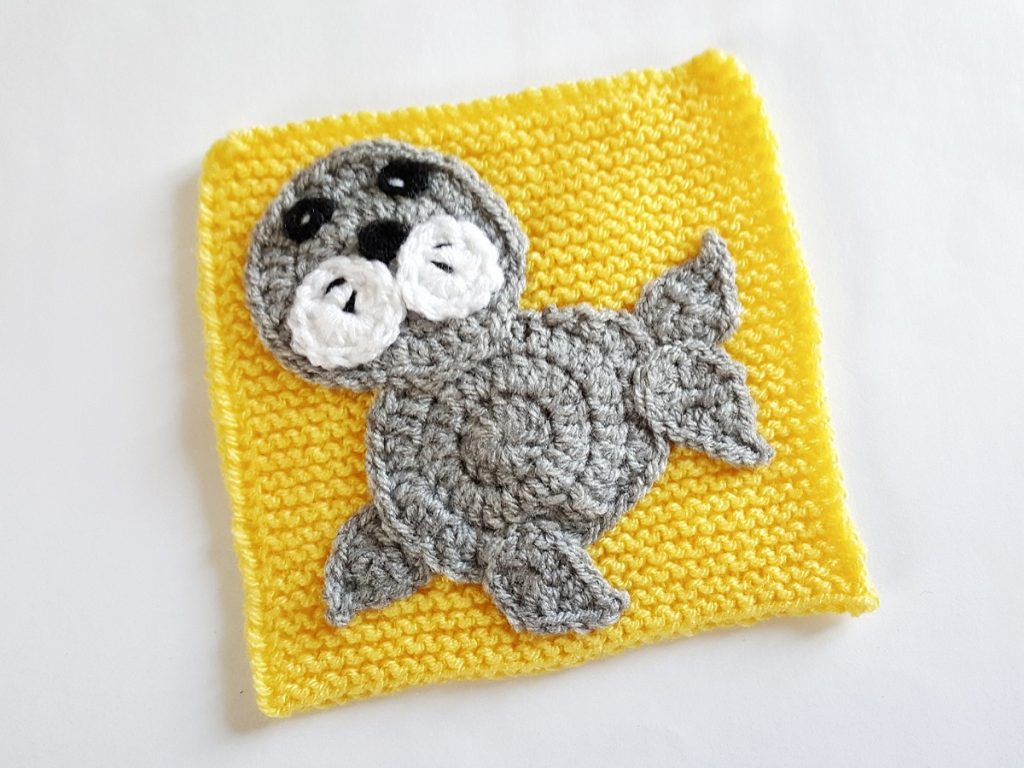
10. Using the remaining ends (head, four flippers, and body) you should have plenty of yarn to sew your seal on to your project.
Here the seal is shown on a 6″ blanket square.
This was such a quick applique to make!
And I learnt a new shape to crochet too!
The Ravelry pattern link can be found here for linking in your projects.
Let me know if you’ve made the seal and what you put it on in the comments.
Best wishes, Sam xox
If you want to receive new articles from us directly into your inbox, then please sign up below.

0 Comments