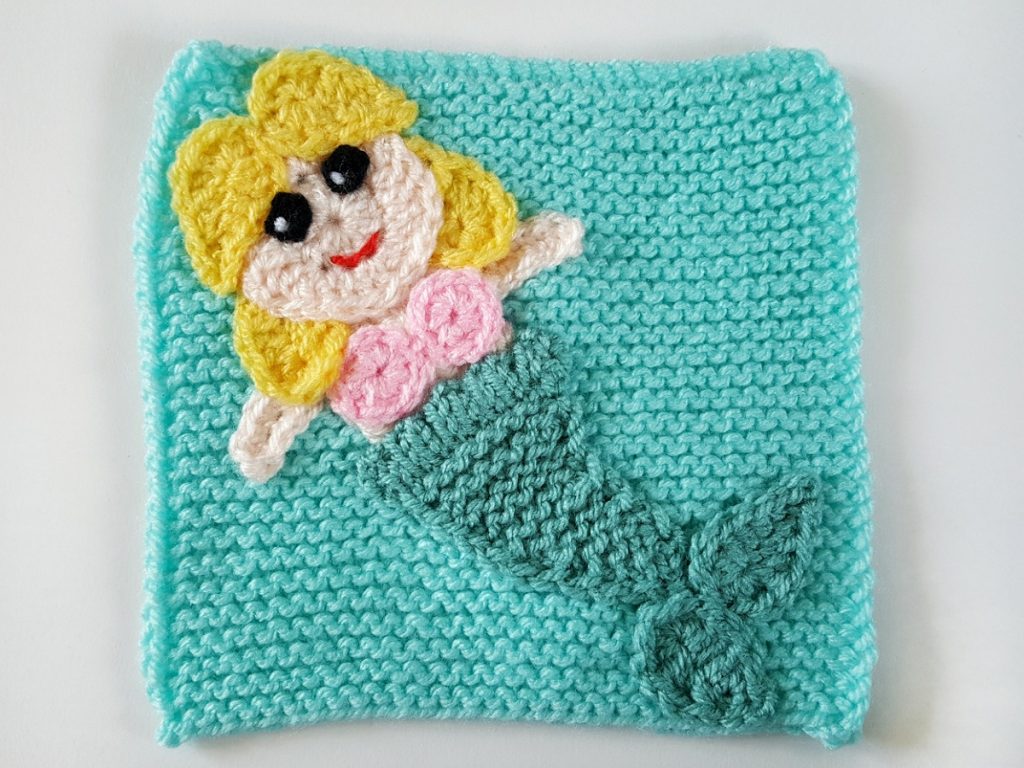
Learn how to make this mermaid (mostly) crochet applique pattern. It is mostly crochet, a little bit of knitting, and completely free.
When I signed up to make a mermaid I wasn’t entirely sure how I was going to make it.
A search on the internet didn’t really fill me with much inspiration. So I started with my trusty circles and leaf shapes and went from there.
The tail was my biggest concern. The flippers would just be two leaf shapes. Easy. But another project on my needles gave me the inspiration I needed for the rest of the tail.
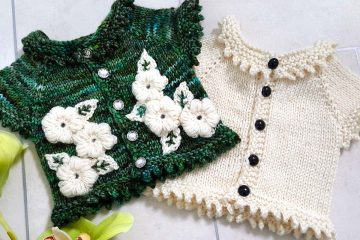
The Honey Pie dress pattern by Lisa Chemery is a favourite of mine after I made one for a friend’s little girl last year. Infused with i-cord edgings, cables, box pleats, and a picot hem, it is much easier to make than it sounds. But it was the picot hem that was my saving grace and inspiration for the mermaids’ tail.
Note: instructions are written in UK Crochet Terms and is shown on a 6″ square for reference.
Materials
- Standard DK weight yarn (colours needed for skin, hair, top, tail, lips, plus black and white for eyes.)
- 3.5mm crochet hook.
- 4mm knitting needles.
- Darning needle.
Abbreviations
Crochet
- Ch = chain
- St/sts = stitch/stitches
- Ss = slip stitch
- Dc = double crochet
- Htr = half treble crochet
- Tr = treble crochet
Knitting
- St/sts = stitch/stitches
- K = knit
- P = purl
- K2tog = knit two stitches together
- Yo = yarn over
Instructions
Note: as you finish each individual piece, use the cast on tail to tighten up any holes and weave in and cut this end off only. You will need the cast-off tails for the assembly.
Head
Face – make 1: Using skin coloured yarn, crochet 2 full rounds of a circle using treble crochet.
Hair – make 4: Using hair coloured yarn, ch 6. Ss into the 2nd chain from the hook, dc in the next stitch, htr in the next, tr in the next, seven x tr in the next (this should turn around the end and have the opposite side of the original chain ready to be worked), tr in the next (i.e. on the opposite side you just worked), htr in the next, dc in the next, ss and bind off.
Eyes – make 2: Using black coloured yarn, ch3 and ss to join in the round. Bind off.

Sew two pieces of the hair to the sides of the face at the back. Weave in and cut the ends.

I find it is easiest to catch the back of the work for this.

Next sew the remaining two pieces of hair to the top front of the face. Do not cut the ends off just yet.

Next sew on the eyes and mouth. I used back stitch for the mouth. Weave in and cut the yarn ends.

Body
Body – make 1: Using skin colour yarn, crochet 2 full rounds of a circle using treble crochet.
Top – make 2: Using top coloured yarn ch4 and join in the round. Ch1. Make 10 htr stitches into the centre of the ring. Ss back to the start of the round and bind off.
Arms – make 2: Using skin coloured yarn, ch6. Dc into the 2nd stitch from the hook. Dc into the rest of the chain before the end stitch. Dc 3 times into the last stitch, turning the piece ready to work into the opposite side of the chain. Dc into each stitch to the end. Bind off.

Sew the two pieces of the top on to the body, and weave in and cut the ends. Leave the arms separate for now.

Tail
Flippers – make 2: Using tail coloured yarn, make 2 of the pieces of hair.
Tail – make 1: Using knitting needles and knitted cast on, cast on 10 sts. Work as follows:
Knit one row.
Purl one row.
(K2tog, yo) repeat to last 2 sts, k2tog. (9 sts)
Purl one row.
Knit one row.
Purl one row.
Next work a picot hem: fold the cast on edge at the back up to the row you are working on, using the left-hand needle, pick up the first cast-on stitch. Knit these two stitches together. Pick up the next cast-on stitch and also knit these together. Repeat in this manner to the end of the row.
Sl1, knit to end.
Sl1, knit to end. Work row twice more.
Sl1, k2tog, k3, k2tog, k1. (7 sts)
Sl1, knit to end. Work 4 times more.
Sl1, k2tog, k to end. (6 sts)
Sl1, k to end. Work row once more.
Sl1, k2tog, knit to end. (5 sts)
Sl1, k to end. Work row 3 times more.
Sl1, k2tog, k to end. (4 sts)
Sl1, k to end.
Sl1, k2tog, k1. (3 sts)
Sl1, k to end. Work row once more.
Sl1, k2tog. (2 sts)
Bind off last 2 sts.
Assembly
Lay pieces on to your square/project to get the layout you want.

Carefully remove all the pieces EXCEPT the body, and sew this down. Weave in and cut the ends.

Next, sew down the face and weave in and cut the end. Do not do the hair yet.

Sew the arms on next to the body, under the hair. Weave in and cut the ends.

Now sew down the hair. Weave in and cut the ends.

Next, sew on the tail. Note that the garter stitch tail has a bit of stretch in it, so you can pull it into a curved shape as you sew it down if need be. Weave in and cut the ends.

Next, sew on each of the two flippers. Weave in and cut the ends.

I decided to add a small stitch of white into each eye once I had finished.
And voila! A mermaid!

The Ravelry pattern link can be found here for linking in your projects.
Let me know if you’ve made the mermaid and what you put it on in the comments.
Best wishes, Sam xox
If you want to receive new articles from us directly into your inbox, then please sign up below.


0 Comments