Seaming the Ancestral Fingerless Mitten pattern may seem a little daunting. Not because it’s a small seam. But because it’s a seam that will be on show. After all, it runs down your index finger, over the back of your thumb, and down your wrist.
But I’m here to help! Over the years I’ve made so many of these fingerless mittens that I’ve got the seaming down to an art. And I’m here to share that with you now.
The following method makes a near invisible seam.
1. I find it easier to have the cast on edge at the bottom and the cast off edge at the top. If you are unsure which is which the cast off edge should have the long tail. And I’ll position the tails to my right. Thread your darning needle on to the long tail.
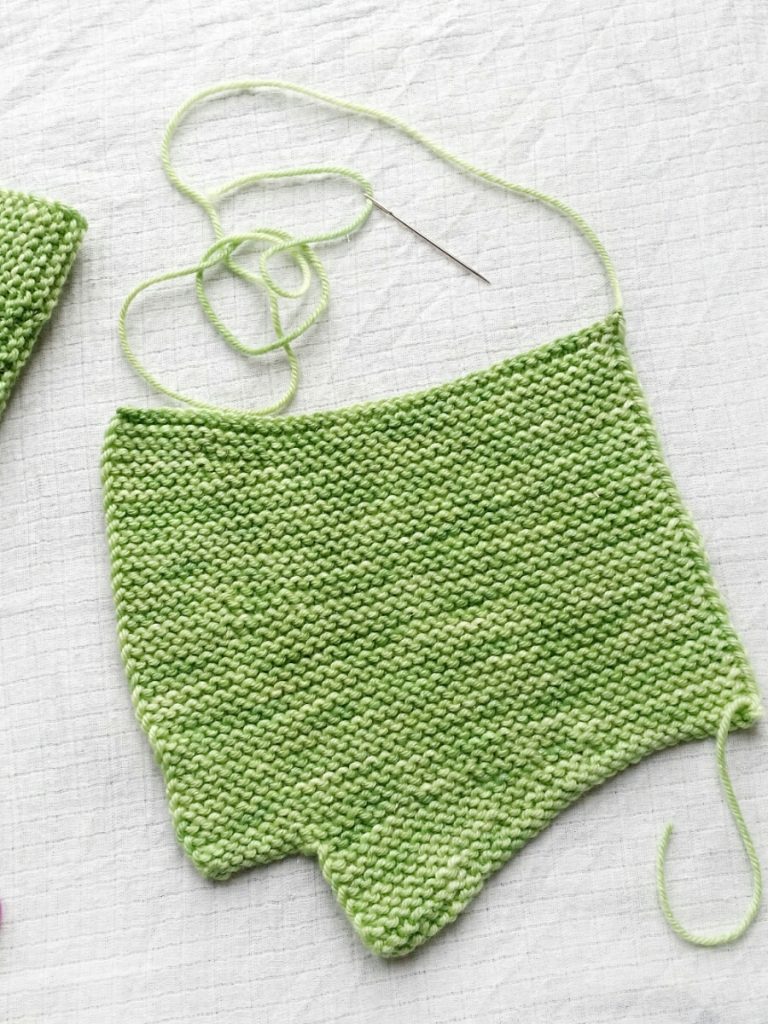
2. Pull the short cast on tail out and thread the long tail through the hole it creates.
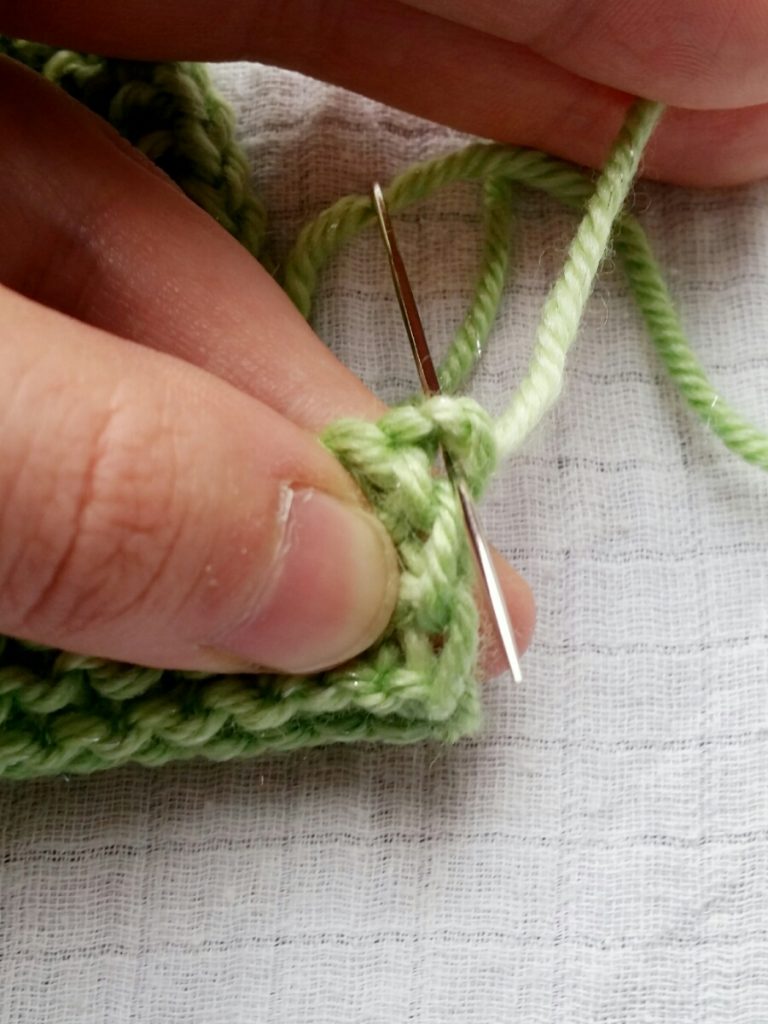
3. Thread the needle up through both strands of the first cast on stitch, and then up through the top loop of the first cast off stitch. Pull the thread tight.
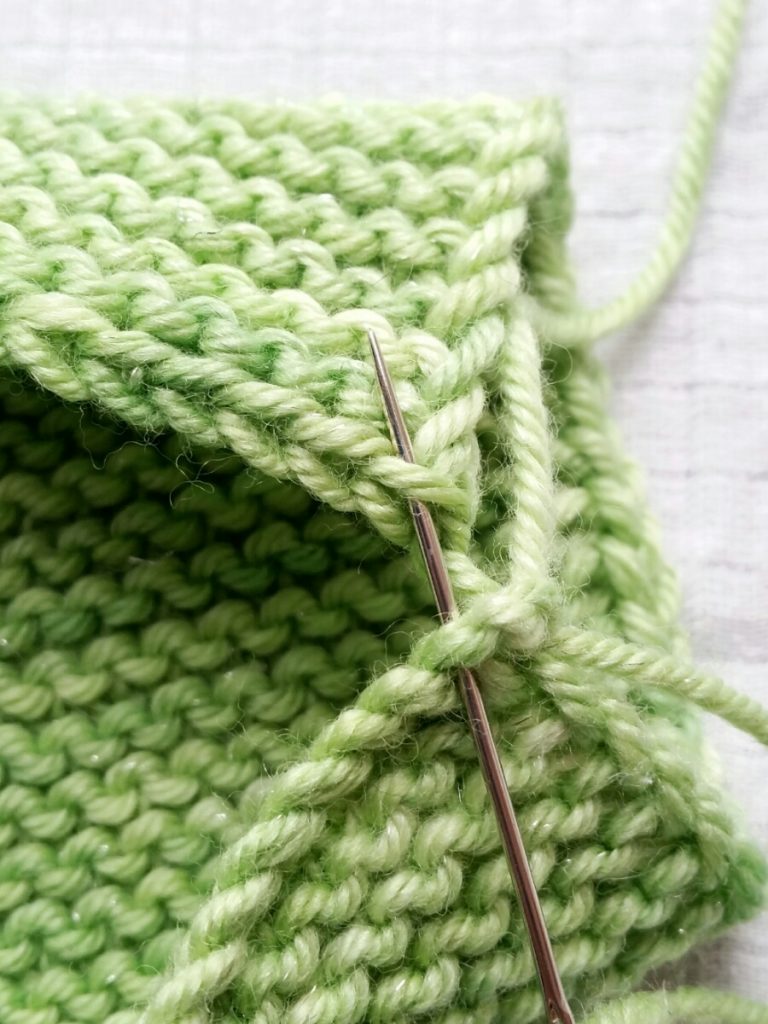
4. Next thread the needle up through both strands of the next cast on stitch, and then up through the top loop of the next cast off stitch. Pull thread tight.
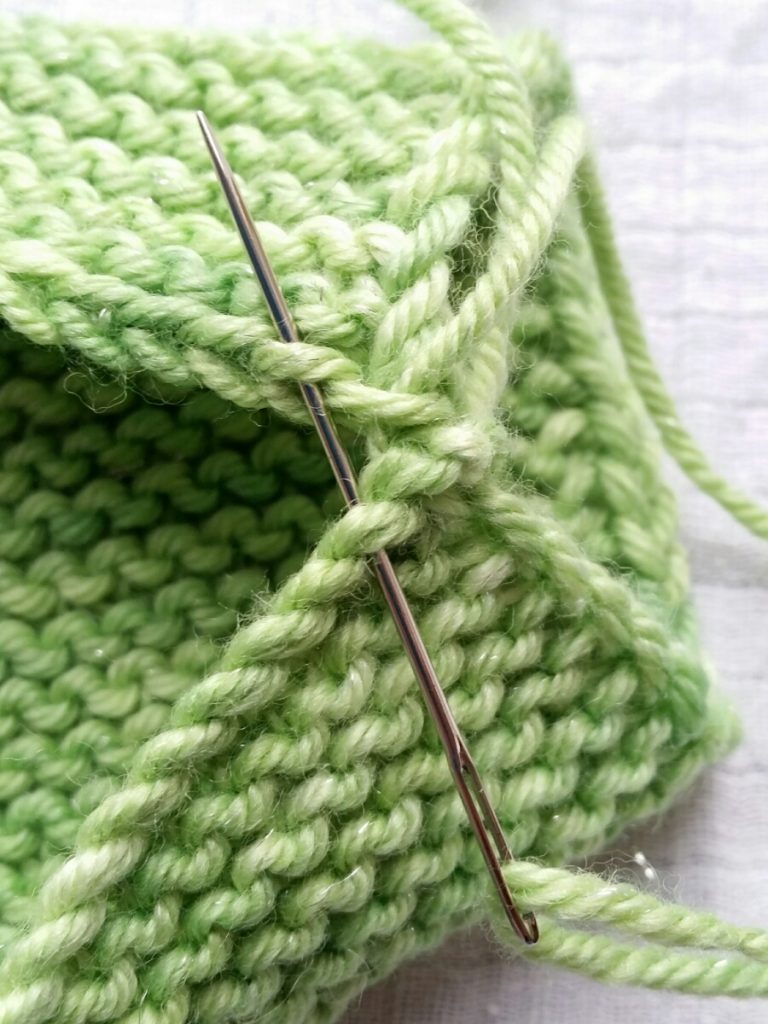
5. Repeat step 4 all the way up the wrist and then up the thumb shaping.
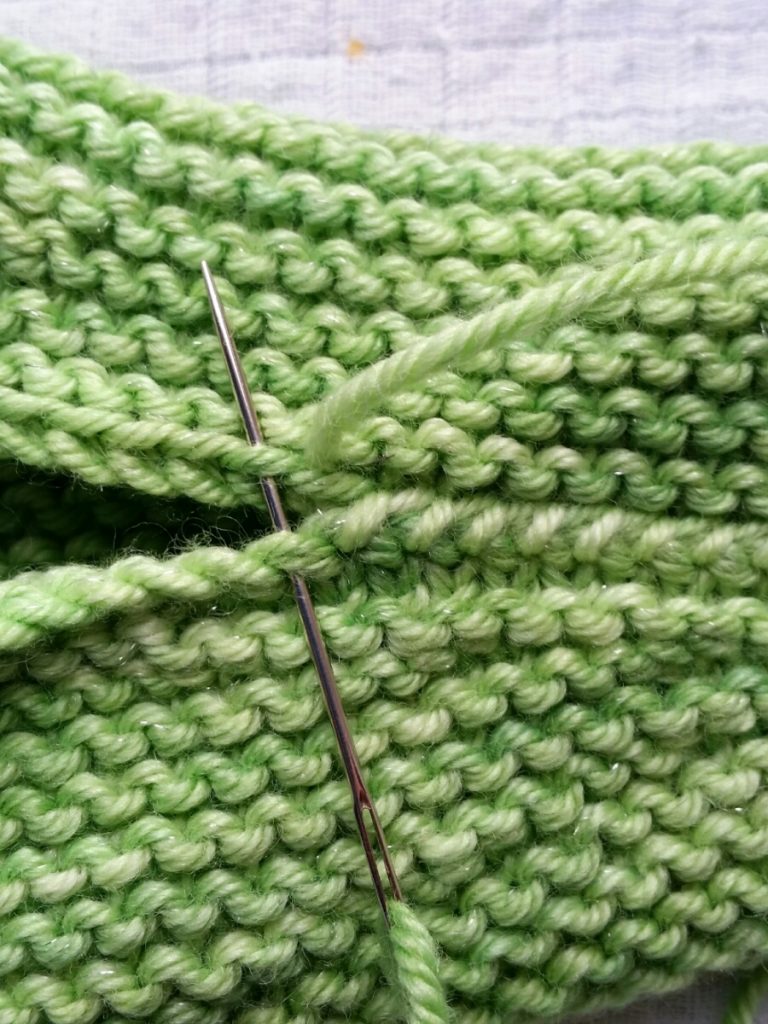
6. When you get to the last stitch of the thumb shaping be careful of the cast on stitch. You want both strands still. Pay attention to keep this stitch tight.
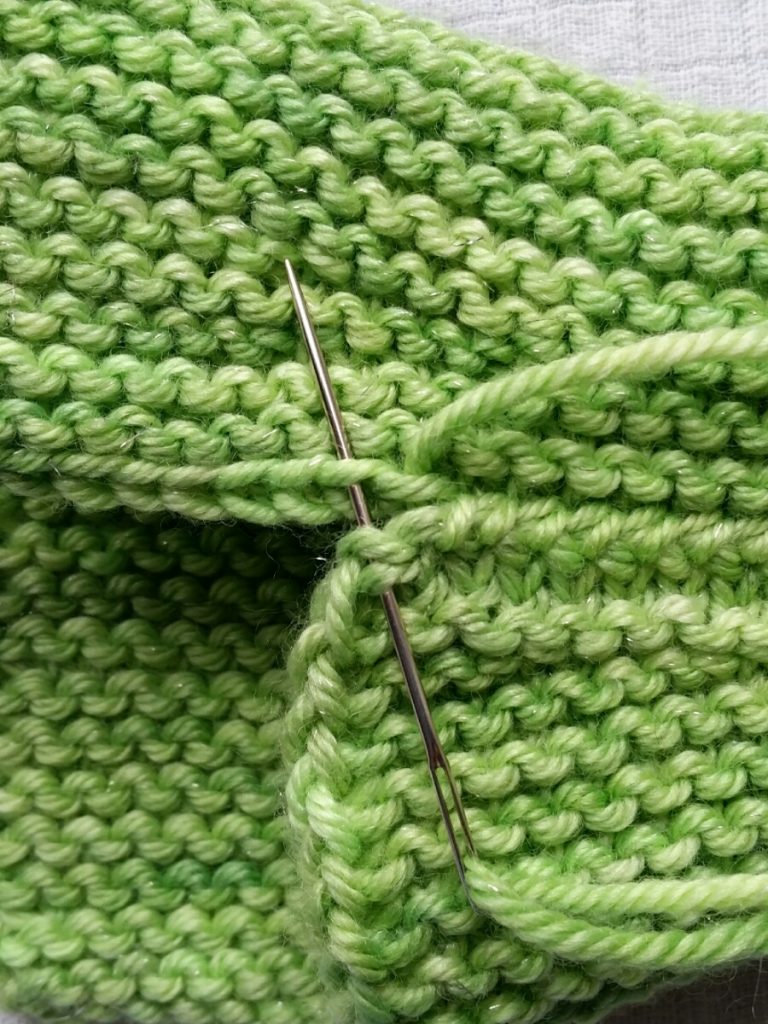
7. On this last stitch on the thumb shaping I tend to bring my thread back through the cast on stitch. It just gives a little extra security for what will be a well worked area of the mitten. Pay attention to keep this stitch tight.
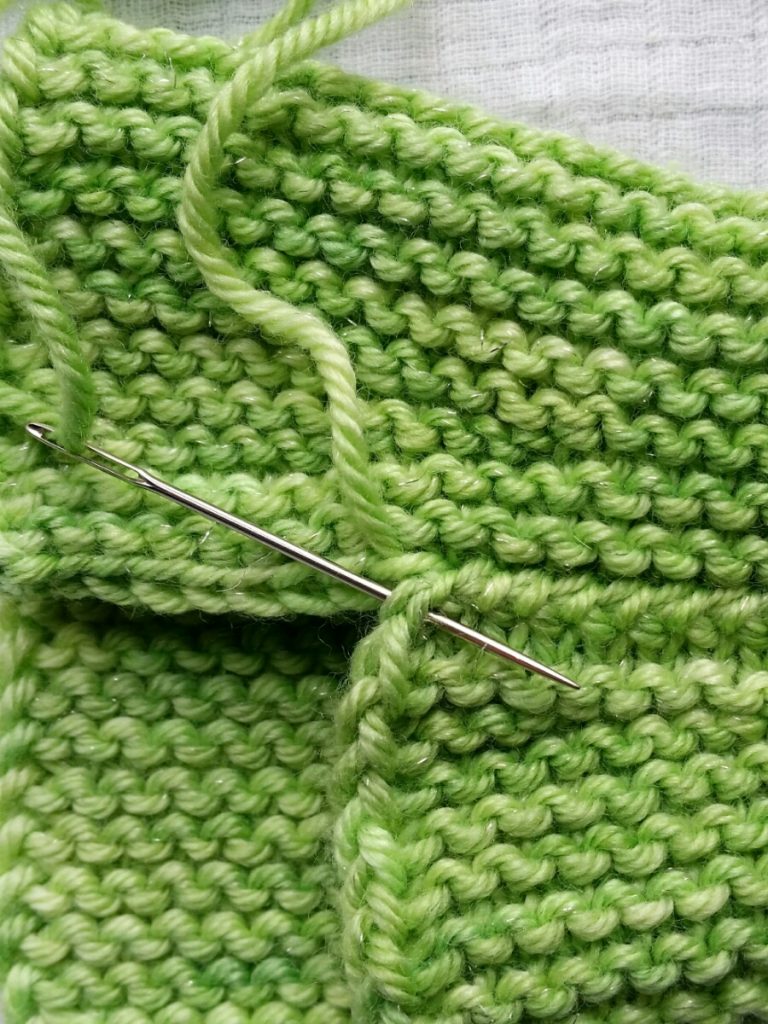
8. Next thread the needle up through both strands of the next cast on stitch, and through the top loop of the next cast off stitch. Be careful not to sew any of the stitches of the thumb opening. To double check I have the correct cast on stitch I will count back from the left hand edge – it is the 8th stitch in if you have followed the pattern. I tend to go through this stitch twice just for extra security. Please pay attention to keep this stitch tight.

9. Next thread the needle up through both strands of the next cast on stitch, and up through the top loop of the next cast off stitch. Repeat this to the last stitch.
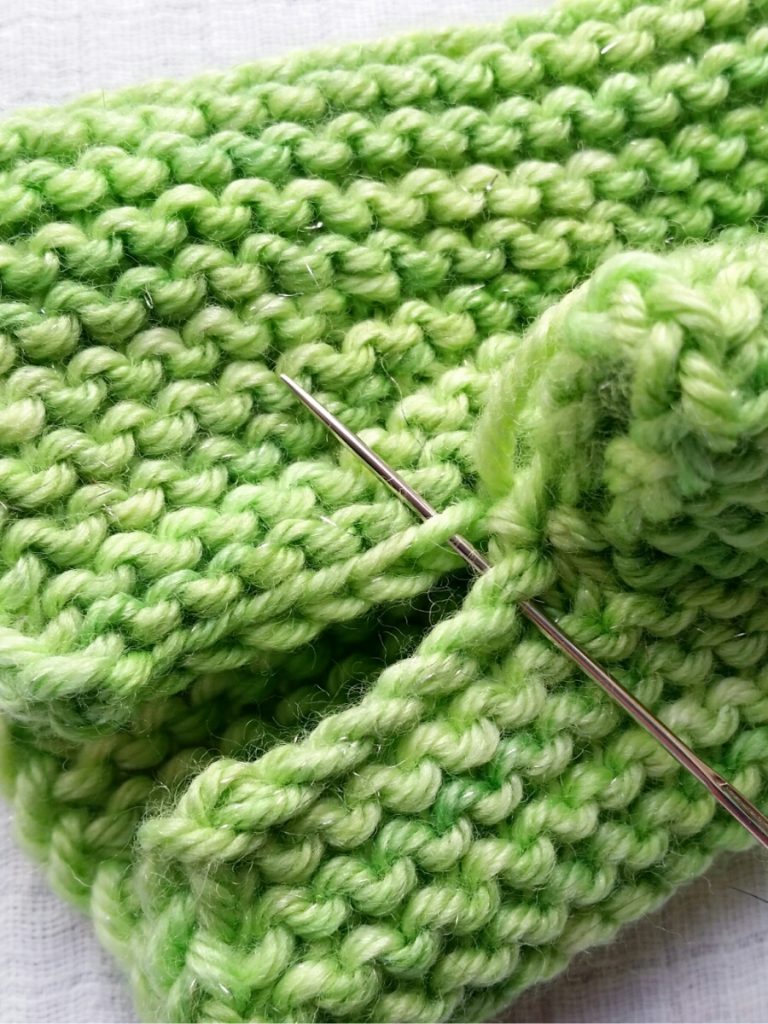
10. On the last stitch I will go through both strands of the cast on stitch, and both strands of the cast off stitch.
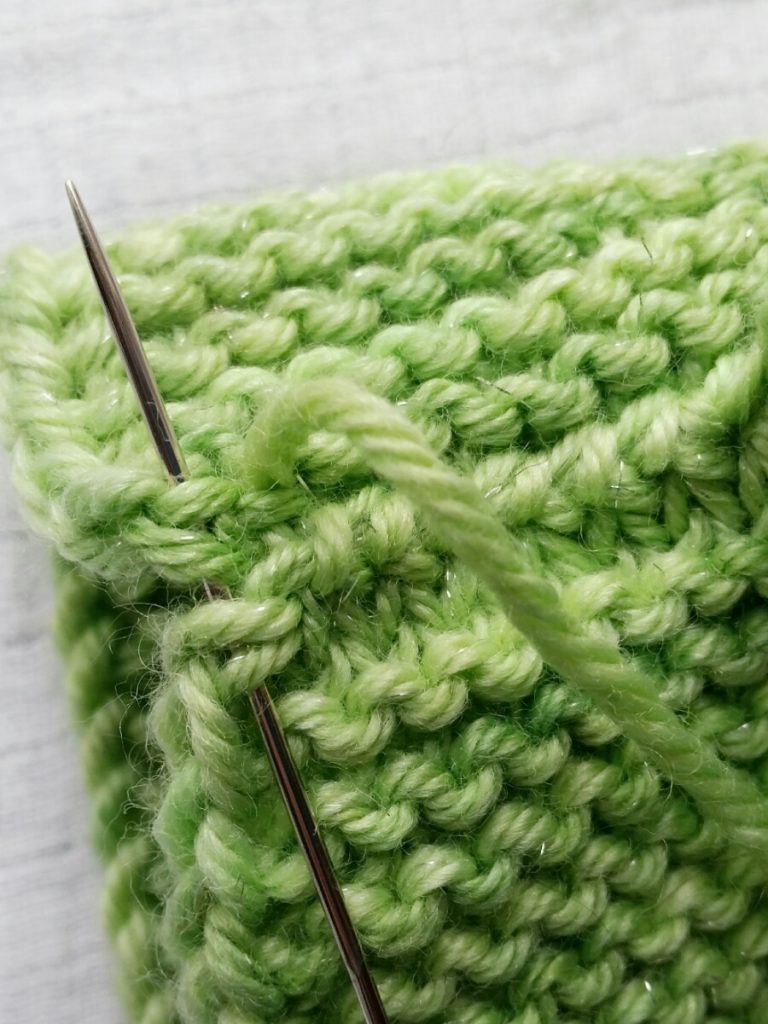
11. I then bring the needle back through the cast on stitch.
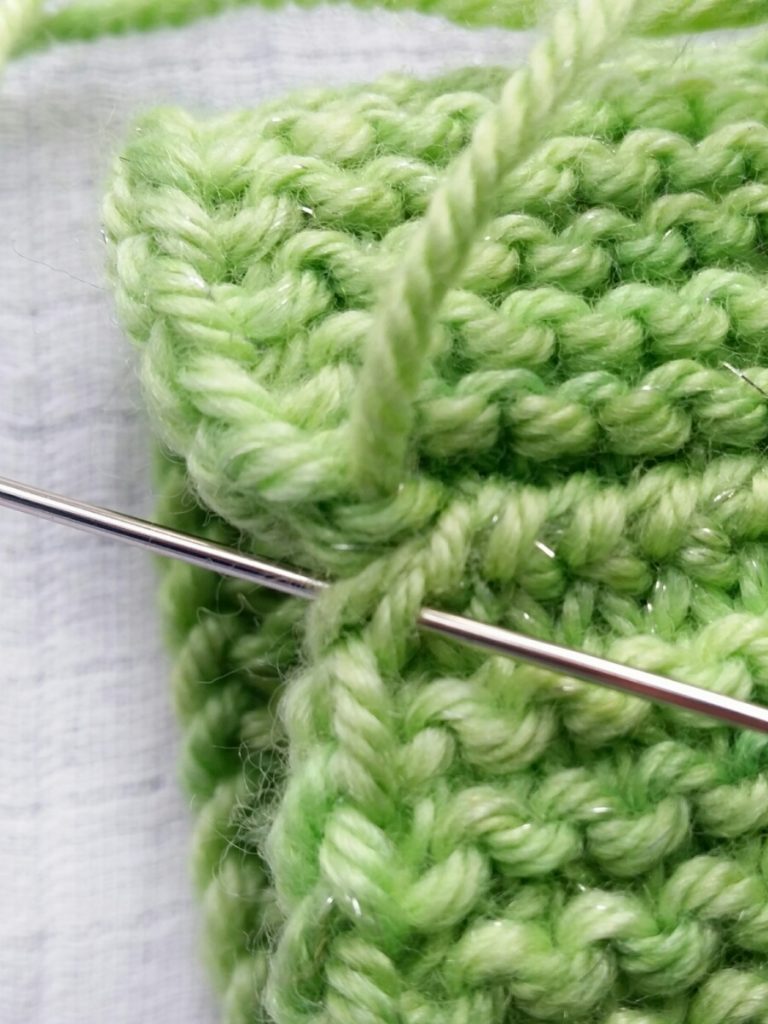
12. To sew in the end I thread the needle through the pairs of stitches created by the seam. Always in the direction shown by the needle in the photo.
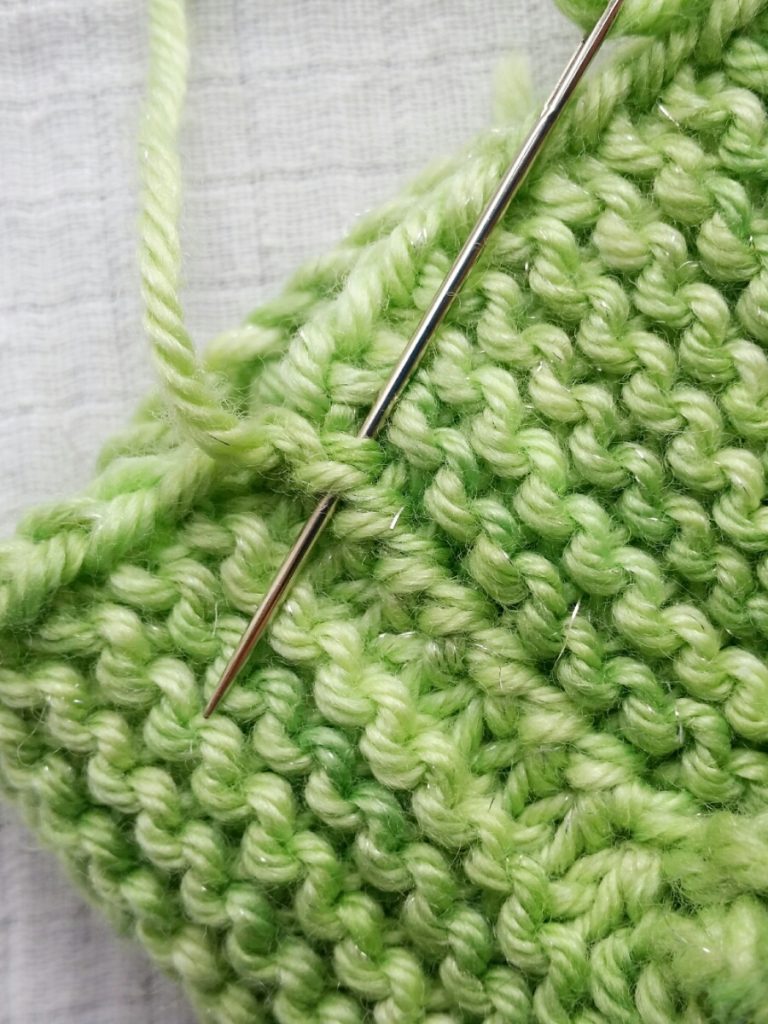
13. I will sew in the thread all the way down closer to the wrist end of the mitten. This area will have less friction from movement and so less chance of it wriggling out.
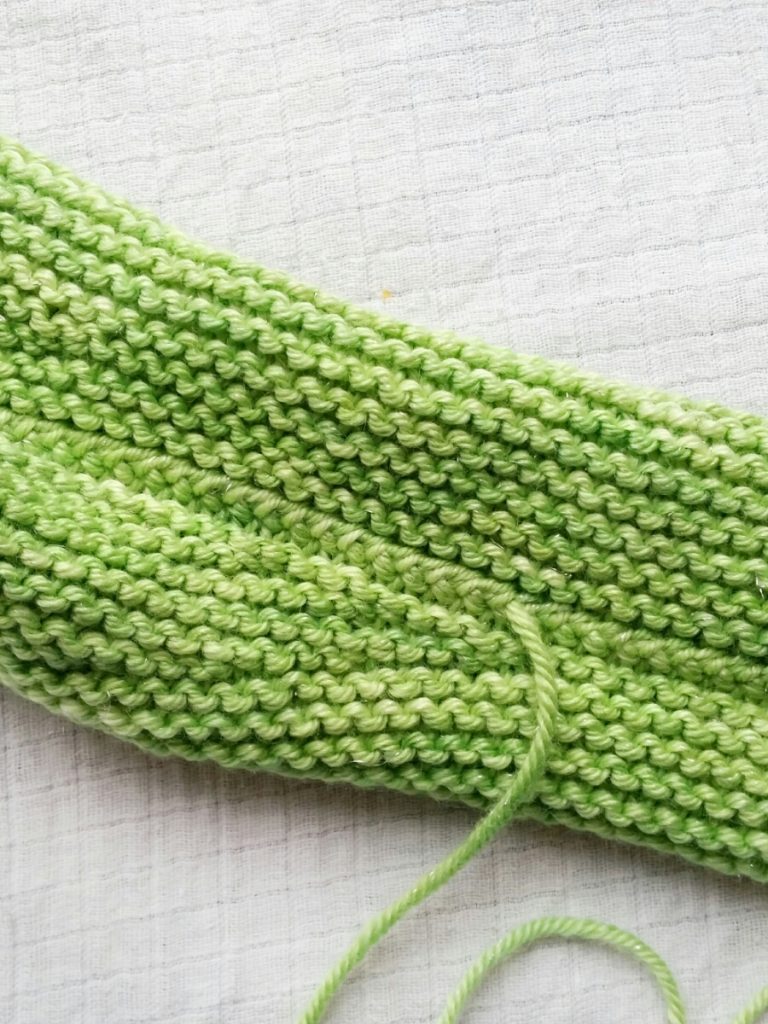
14. Going back to the short cast on tail, I start by theading this back through the neighbour end stitch as shown.
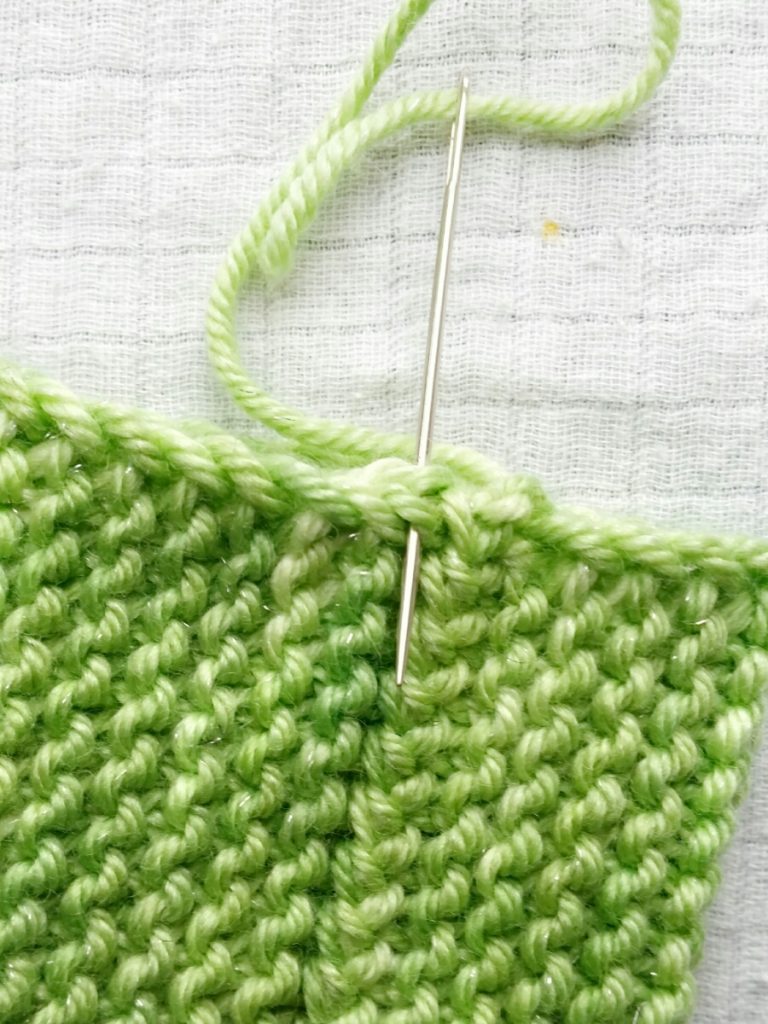
15. Then I’ll weave it in going through the pairs of stitches in the seam as I did for the other tail.
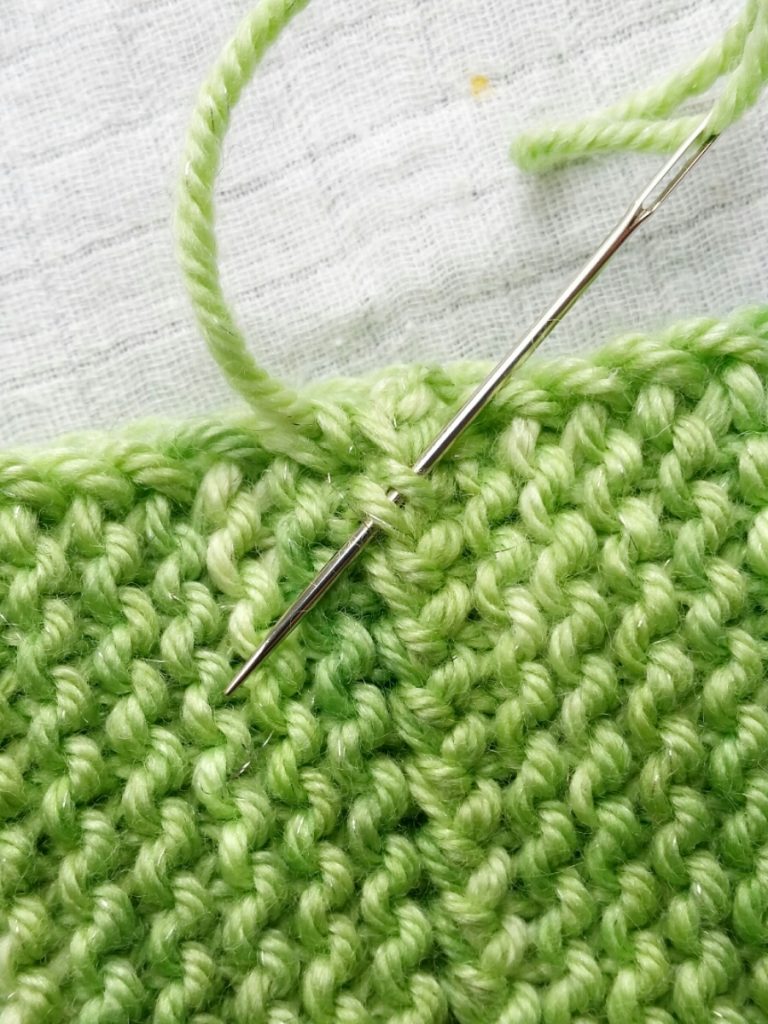
16. When I make my tails long enough I will always sew them past each other in the seam by a few stitches. This means the long tail that started at the finger end is now closer to the wrist end, and the short tail that was at the wrist end is closer to the finger end. Both tails are still in the wrist area though. I’ve never tied my tails in and by doing this I’ve never had a tail wriggle loose in all the years I’ve been making this pattern.
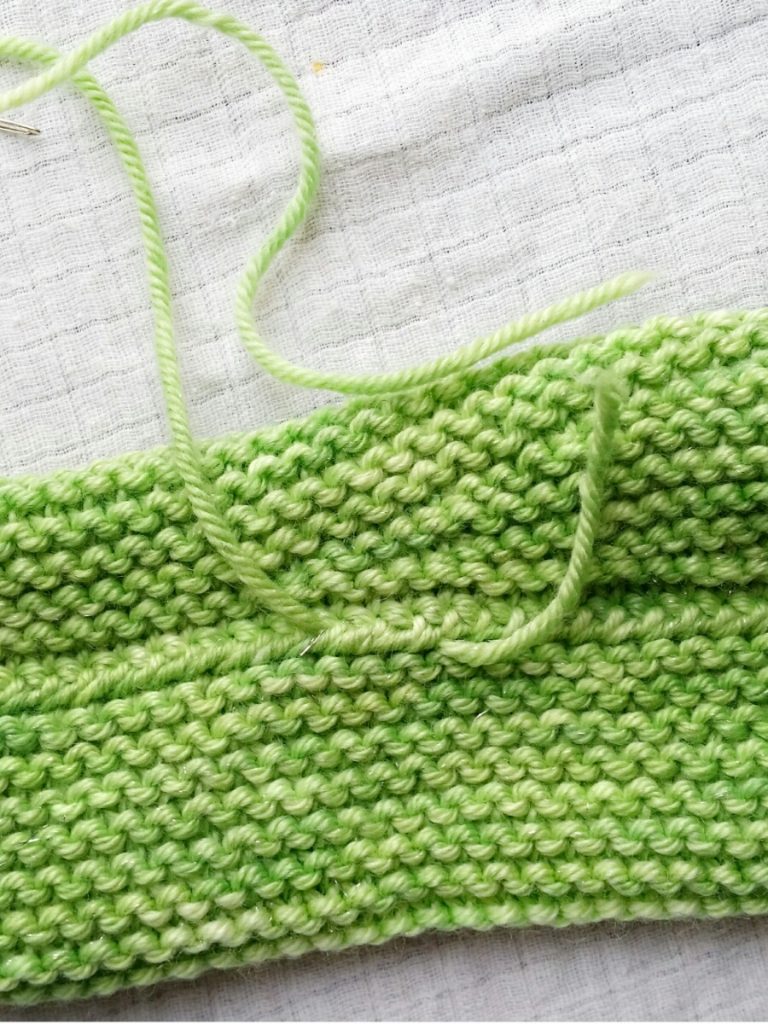
17. Cut tails.
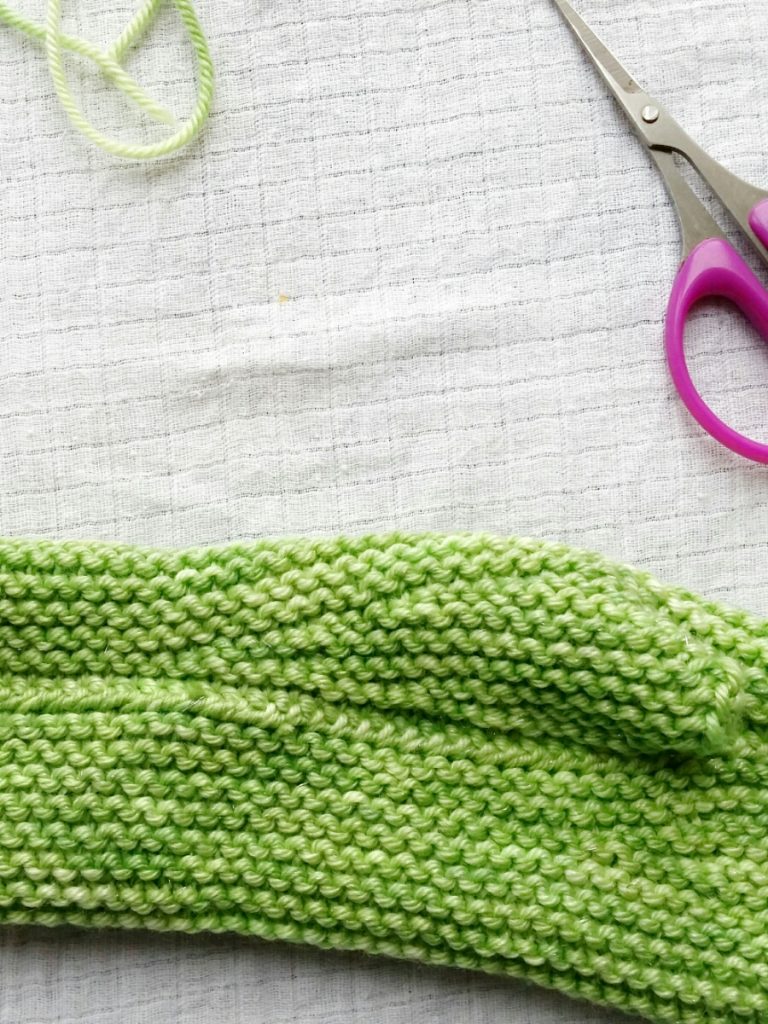
19. Turn mitten inside out.
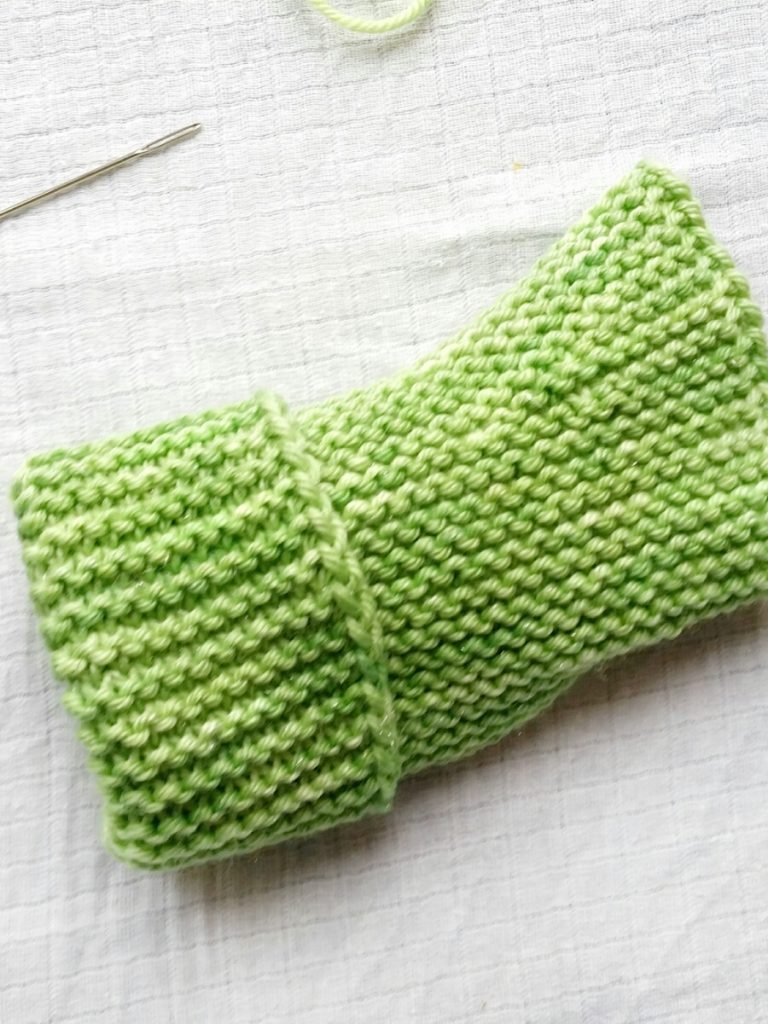
20. Mitten is now ready to wear. This is the back of the mitten. Can you see the seam?
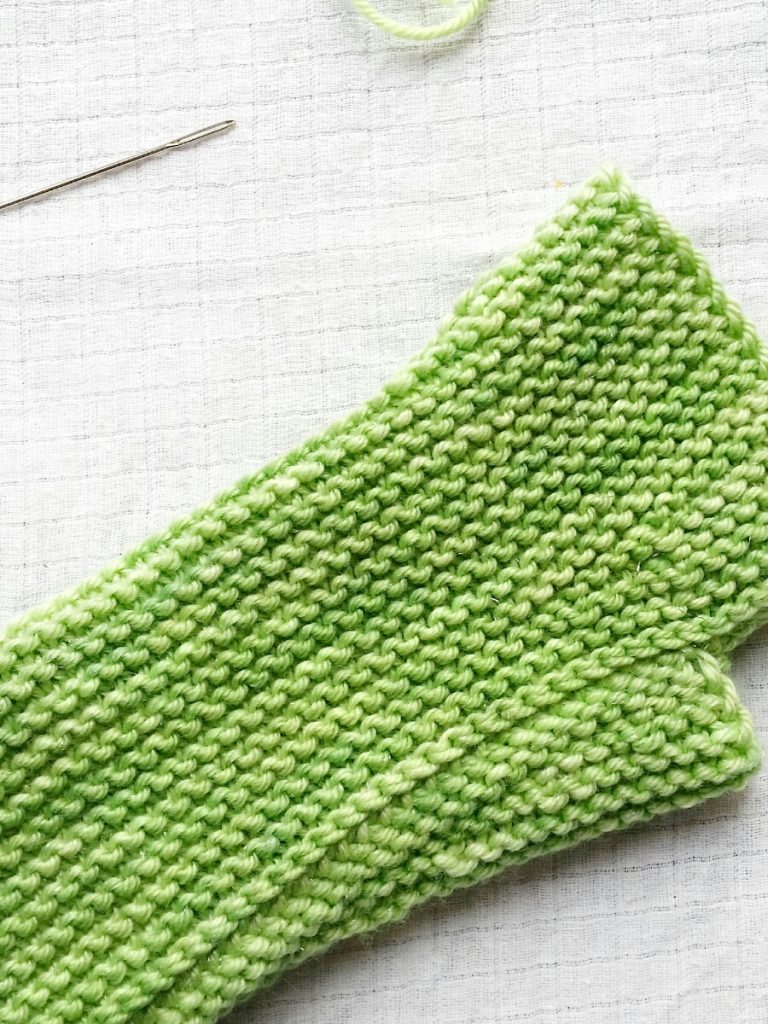
20. It’s here where the tip of the needle is pointing to.
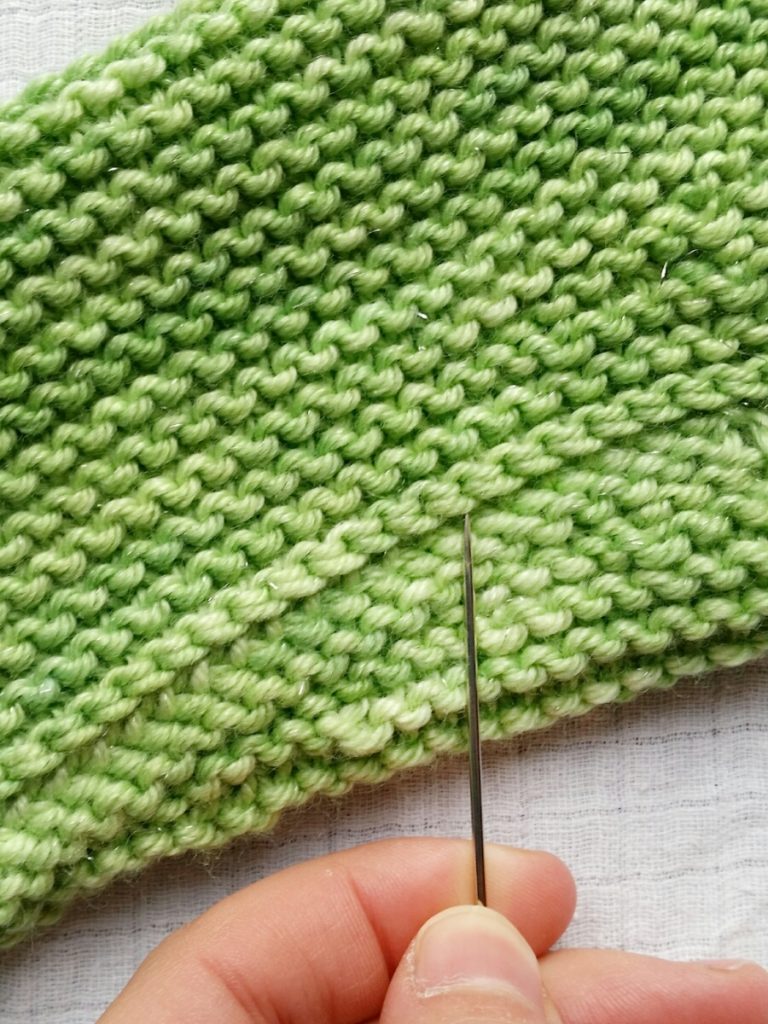
21. Here is the inside of the mitten. Plenty of manoeuvrability for your fingers, especially that all important index finger.
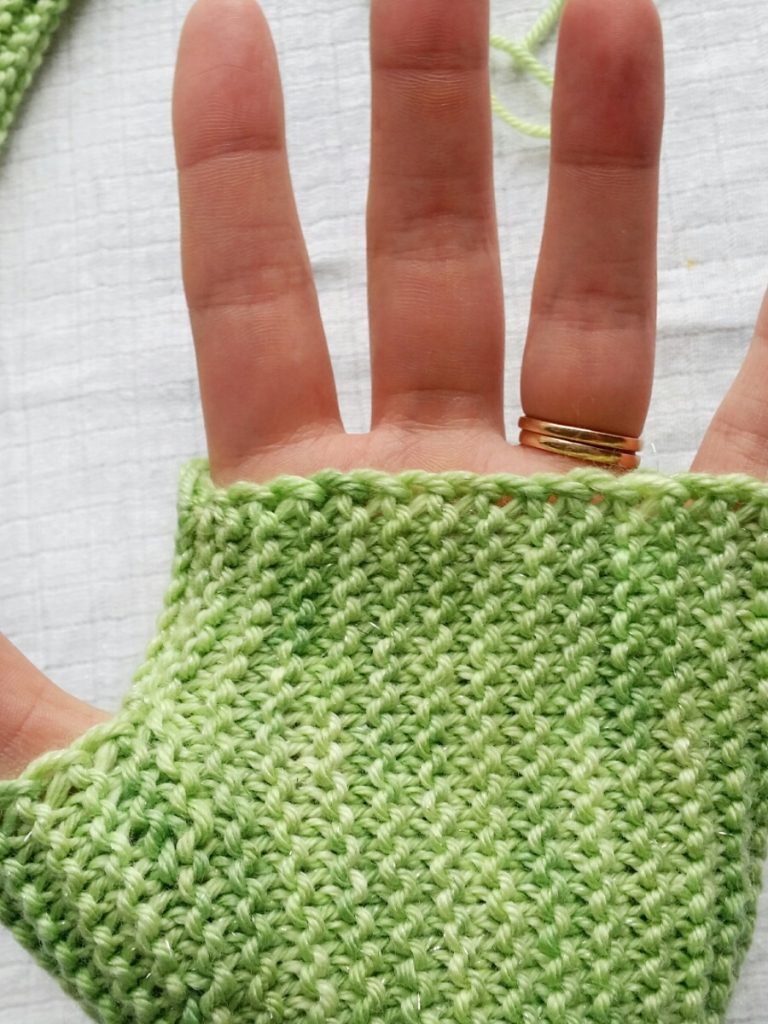
22. Here is the back of the mitten. You can see the short rows just under the index finger and little finger.
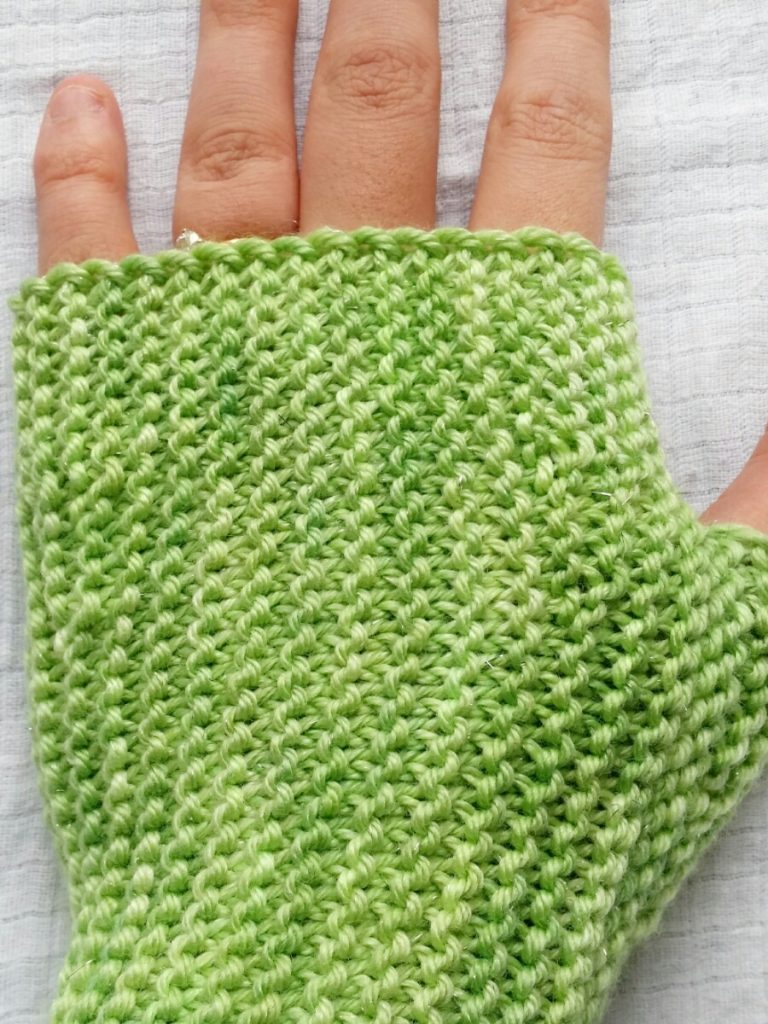
23. And finally that seam. The reason you’re reading this. The seam runs down the side of your index finger, over the back of your thumb, and down your wrist. Nearly invisible amongst the garter stitch.
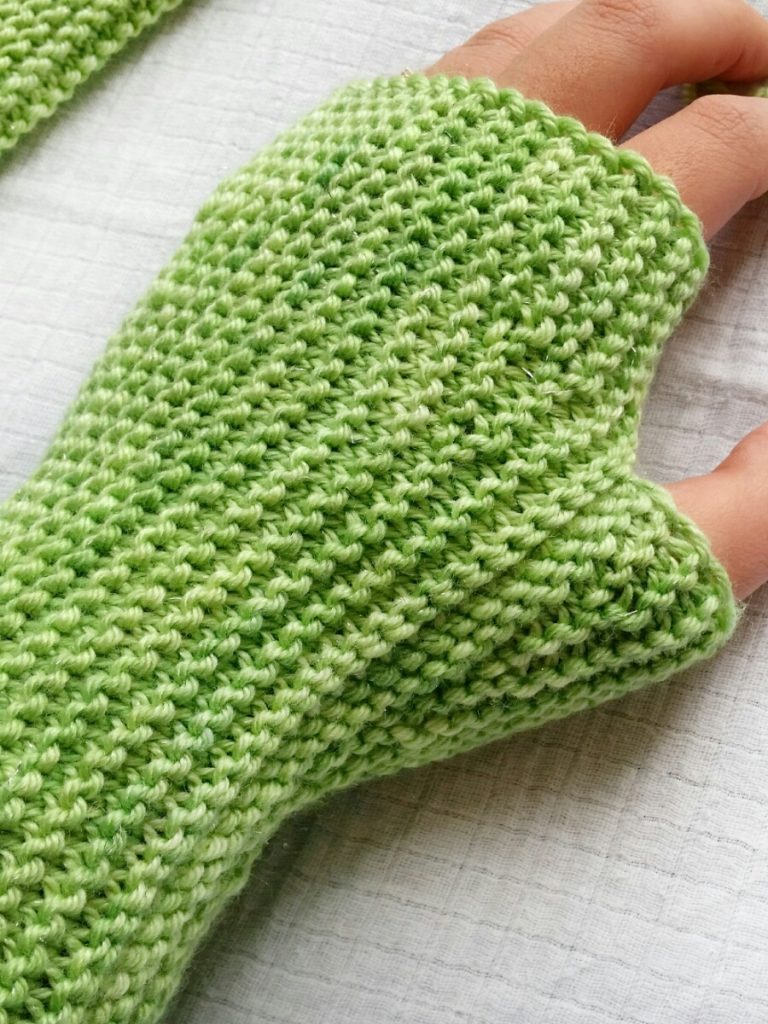
I’d love to see your seams in the comments!
And if you’re giving a pair of the Ancestral Fingerless Mittens away as a gift don’t forget to download your free gift wraps, designed specifically for this pattern.
Best wishes, Sam xox
If you want to receive new articles from us directly into your inbox, then please sign up below.

2 Comments
Becky LukeyBarlow · 5th March 2022 at 4:21 pm
Thanks! This is a very interesting design.
Samantha Main · 18th March 2022 at 10:35 am
Thank you so much for the compliment Becky xox