Hi there lovely friends!
One of my projects this month has been to make a play prop for my eldest son.
He loves pretending that the real world is Minecraft and I hear him and his friends talk about going to the Nether to find Ghasts.
After browsing Wool Warehouse to find suitable yarn, I cast on a crochet blanket to make him a Nether Portal. At the same time I found a YouTube video and learnt how to join crochet squares as you go, so no sewing up afterwards.
Below is the recipe I used, along with links to the video tutorials I learnt from.
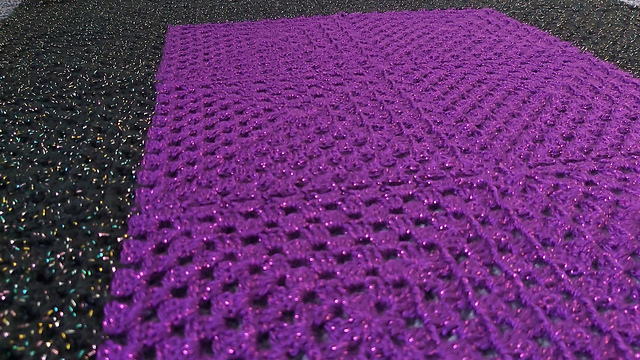
About the Design
This is a very simple crochet granny square blanket. Each square is a single colour of yarn, and the squares are joined together using a join as you go method.
Pattern Details
- Difficulty: Easy – perfect for beginner crocheters.
- Skills Used: Standard granny square and join as you go. Video links to YouTube included below.
- Materials Needed:
- King Cole Glitz DK yarn (100g/ 290m) – 2 x 100g skeins of colour Galactic Glimmer (black) and 1 x 100g skein of Regal (purple)
- 3.5mm crochet hook
- A darning needle for weaving in your ends
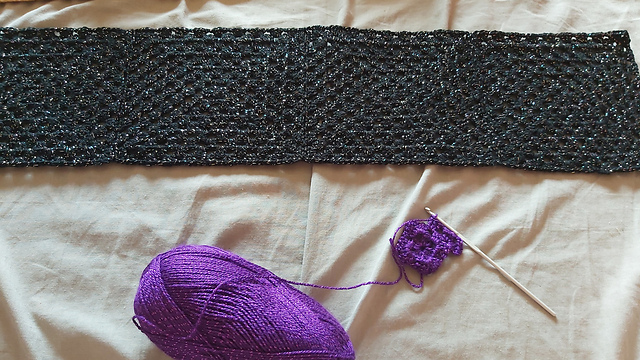
Note: The materials above will make the minimum size required in the game to make a Nether Portal. If you wish to make your portal larger you will need more yarn. The purple yarn was slightly thinner than the black, and I was able to make 6 squares per skein of purple, and 5 squares per skein of black.
Key Features:
- Single Colour Squares – No need to manage yarn colours within each square.
- Join-As-You-Go Crochet – No need to sew the squares together at the end.
Abbreviations:
ch – chain
dc – Double crochet
sl st – slip stitch
st(s) – stitch(es)
Square Pattern:
Make 6 squares in Regal (purple), and 10 squares in Galactic Glimmer (black).
Make a slip stitch, and chain 4 stitches. Join into a loop with a slip stitch.
Round 1: Chain 3 (counts as 1st dc). In the loop work 2 dc, ch 2, 3 dc, ch 2, 3 dc, ch 2, 3 dc, ch 2, sl st into the top of the first chain 3.
Round 2: Turn work (this helps keep the square squared), sl st to the corner space, ch 3, 2 dc, ch 1, [3 dc into the next corner space, ch 2, 3 dc into the same corner space, ch 1] repeat this two more times, sl st into the top of the first chain 3.
Round 3: Turn work, sl st into the corner space, ch3, 2 dc, c1, [(3 dc into the next gap, ch 1), 3 dc into the corner space, ch2, 3 dc into the same corner space, ch 1] repeat this two more times, sl st into the top of the first chain 3.
Round 4: Repeat round 3 but work the instructions in brackets twice for each side.
Round 5: Repeat round 3 but work the instructions in brackets three times for each side.
Repeat this pattern of increasing the instructions in the brackets. If you want to sew your squares up at the end, work until each square has 9 complete rounds. If you want to use the join as you go method then work your squares until they have 8 complete rounds. The 9th round will be completed at the same time as joining the squares. Note that the very first square will need a total of 9 rounds.
To join your squares as you go, I learnt from this YouTube tutorial by Play Hooky With Me. Please do consider subscribing to her channel as well because there are so many beautiful tutorials to get lost in.
Square Placement:
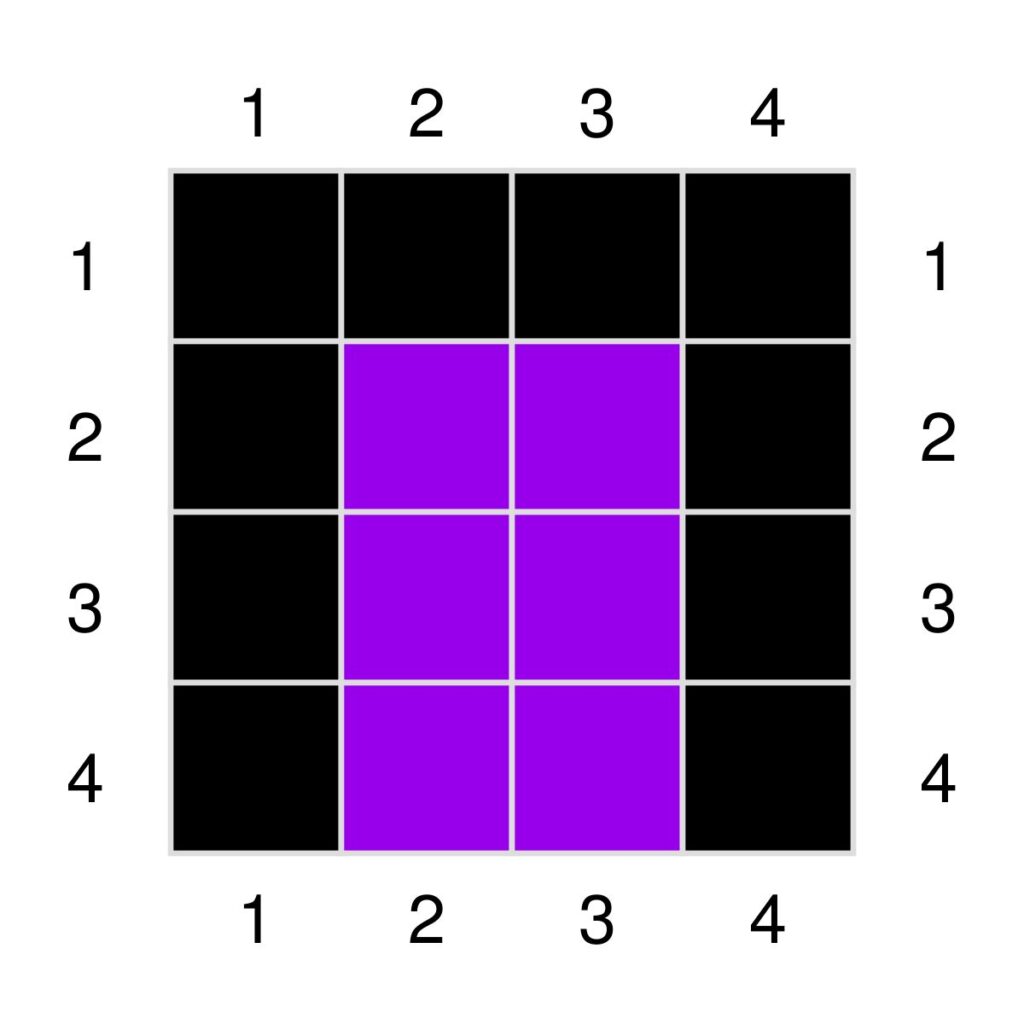
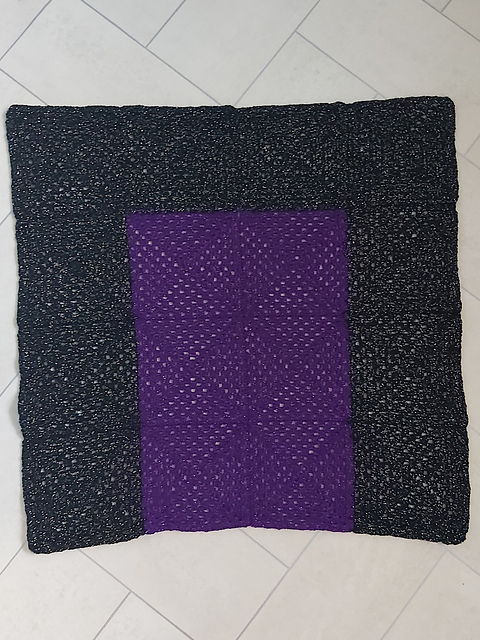
A standard Nether Portal is a 4 x 4 block pattern.
I hope you have fun making this project.
Best wishes,
Sam xox

0 Comments