Hi there!
If you’ve been trying out our How to Create an Amazing Applique Alphabet tutorial, and now want to expand your skill to larger words and images, this tutorial will show you how to scale up your design and transfer it to a larger size.
Design
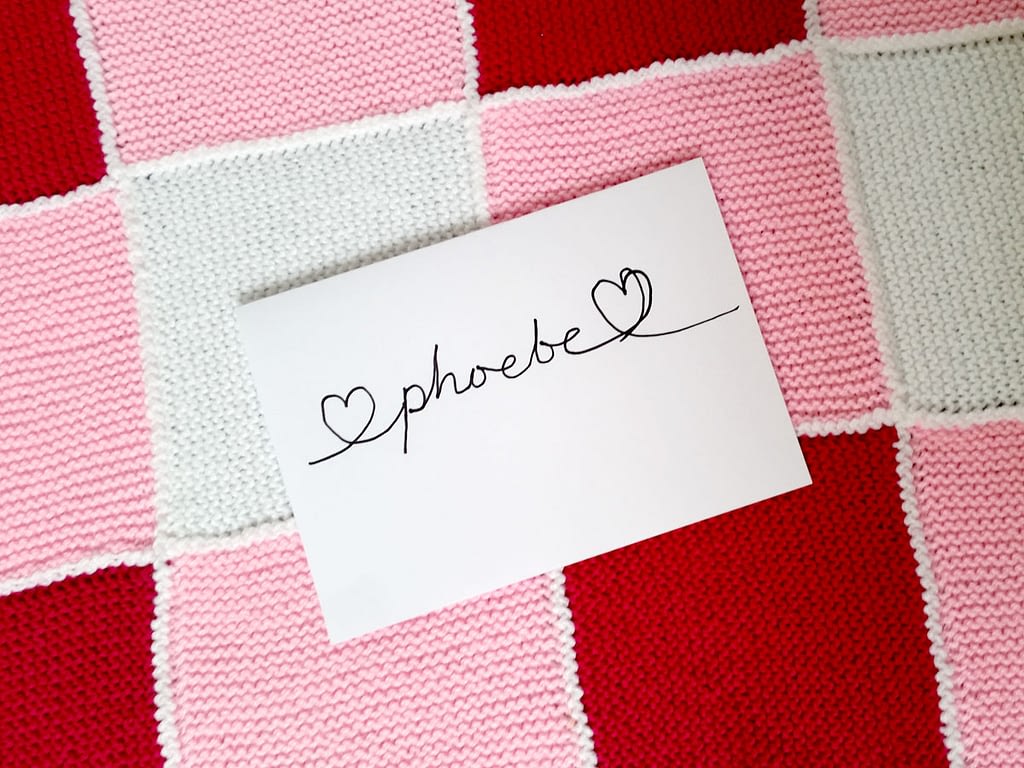
The first step is to create your design in miniature.
Now when I say miniature I don’t mean itty bitty teeny tiny. Just regular sized sketched out on a piece of paper will do just fine.
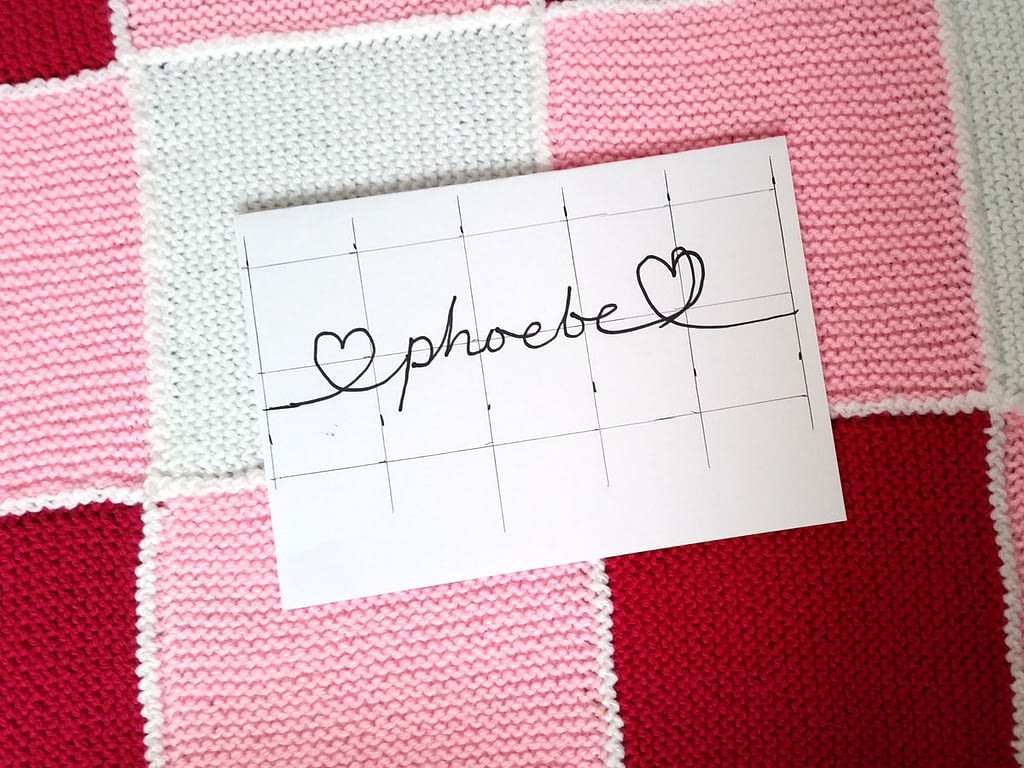
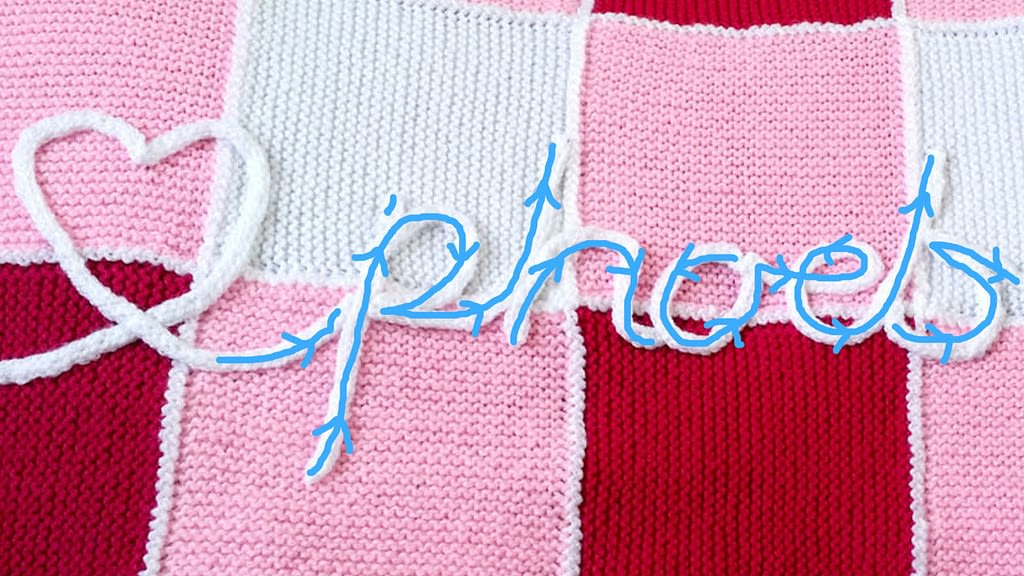
Here you can see I drew out the name “phoebe” in a script font and linked this into a heart at either side.
Tip: keep the lines simple.
Scale
Do you remember the activity books you had a child? Remember the activity where a picture was drawn inside a small grid at the side, and your task was to convert it, using the grid lines, to the larger blank grid? Well, that’s what you’re going to do here.
Bet you didn’t think that was a skill you’d need as a grown-up 🙂
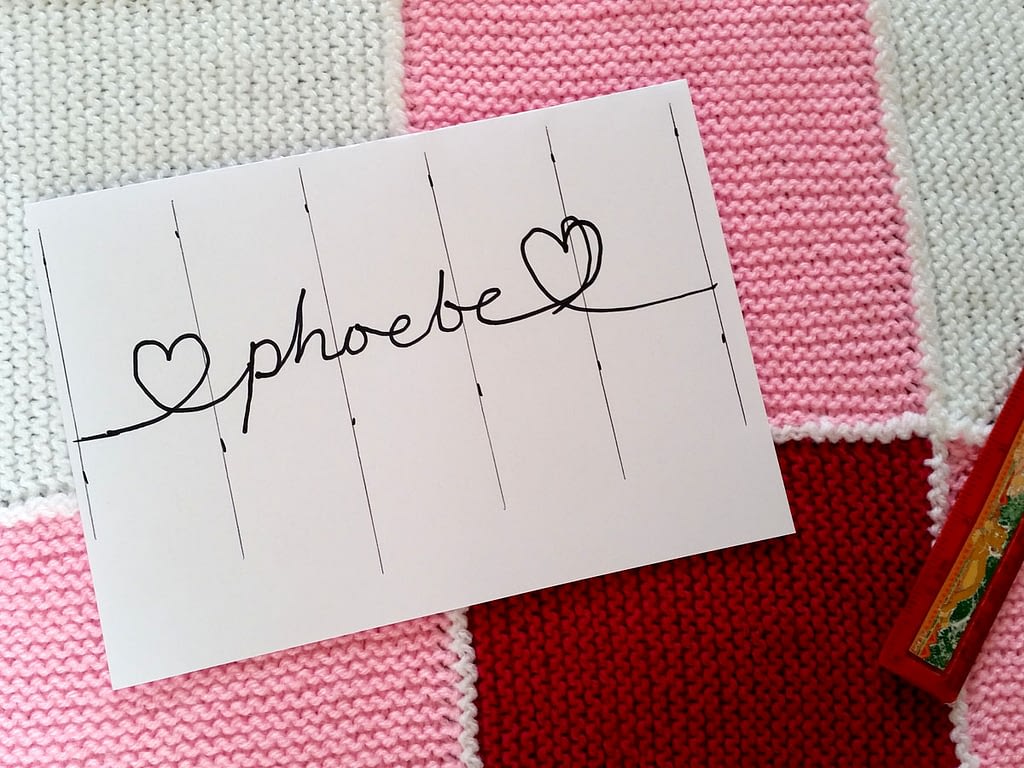
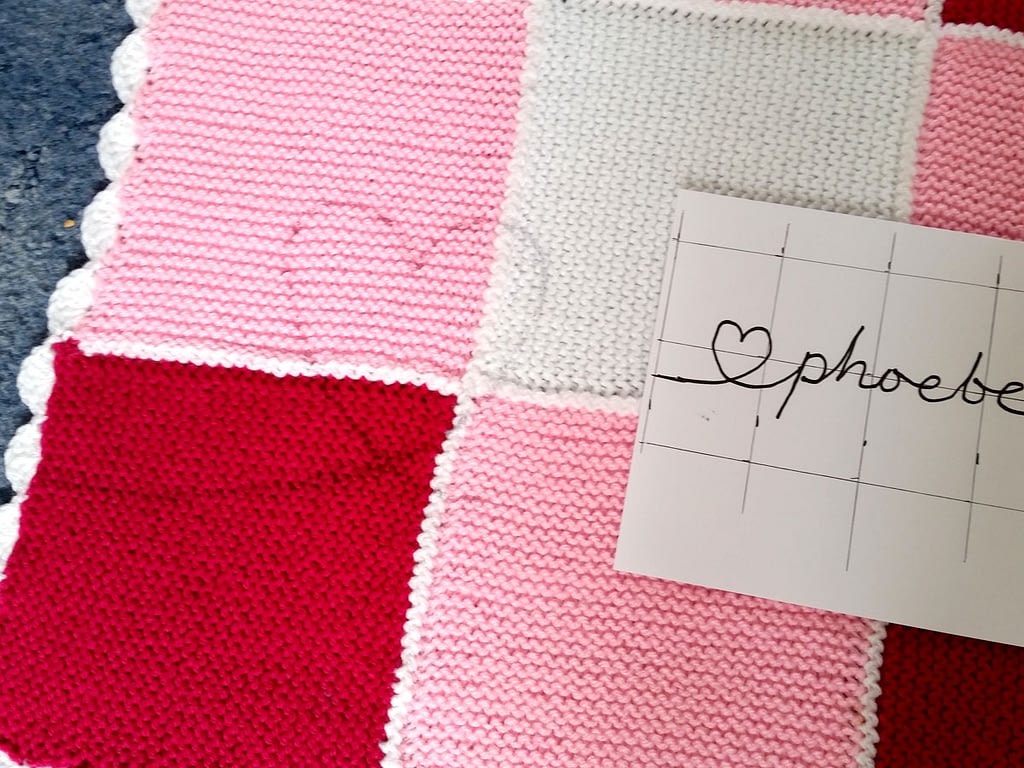
Now the blanket that my design is going on is 5 squares wide by 5 squares high. So my large blank grid is already set out. I just need to put the grid on my design.
If your project doesn’t have pre-determined squares like mine, you can run a piece of spare yarn through the stitches to create a temporary grid.
Now the math part. Sorry!
My design is approx 20cm wide. And my blanket is divided into 5. 20cm divided by 5 = 4cm. So I need to create a grid of 4cm squares over my design, which you can see me doing below.
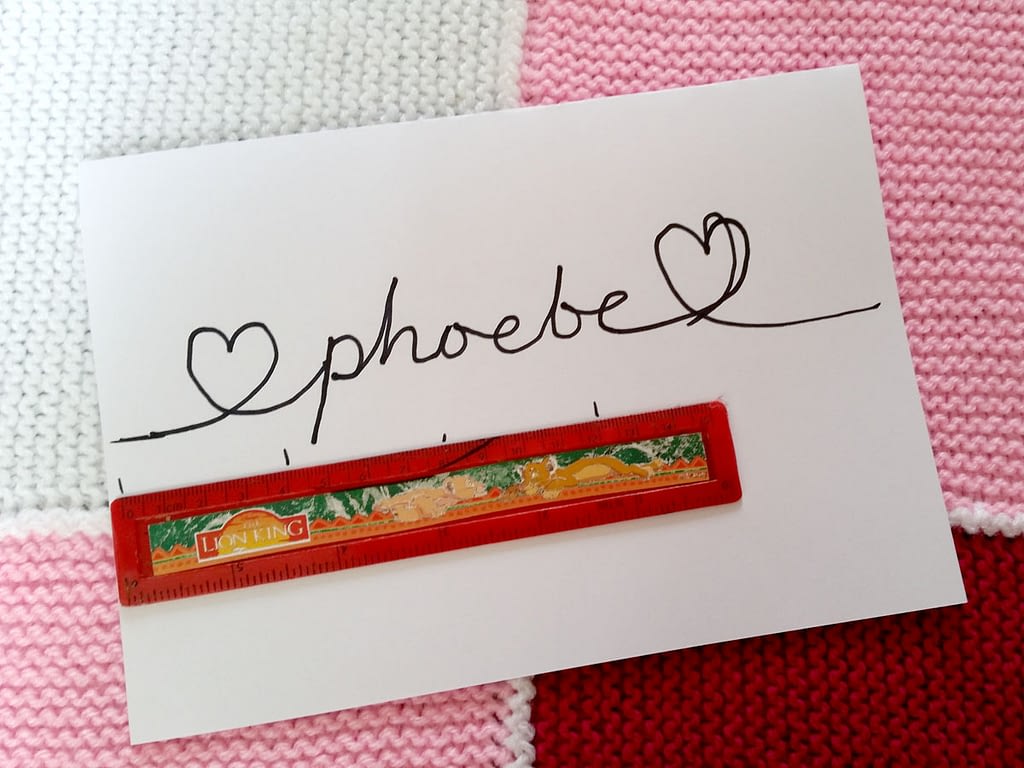
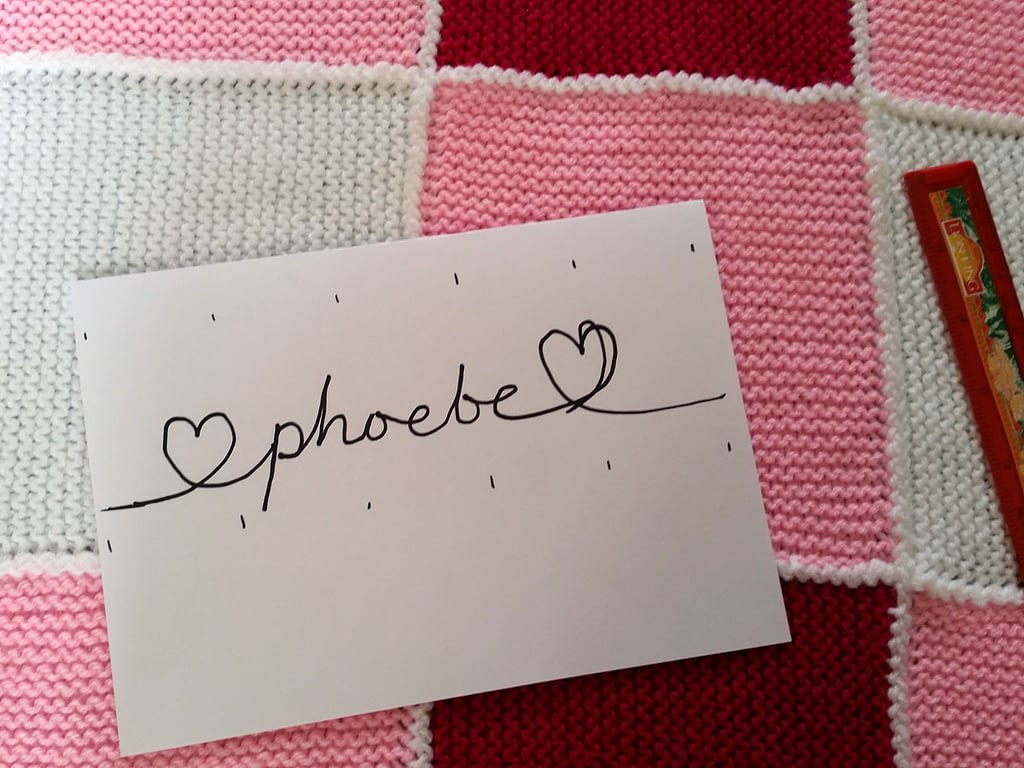
Note: I only need 2 squares vertically as this is how my particular design will be.

Transfer
Now comes the part where you transfer your design to your project.
Tip: please do not use permanent marker like I stupidly did. Either a water soluble marker or tailors chalk.
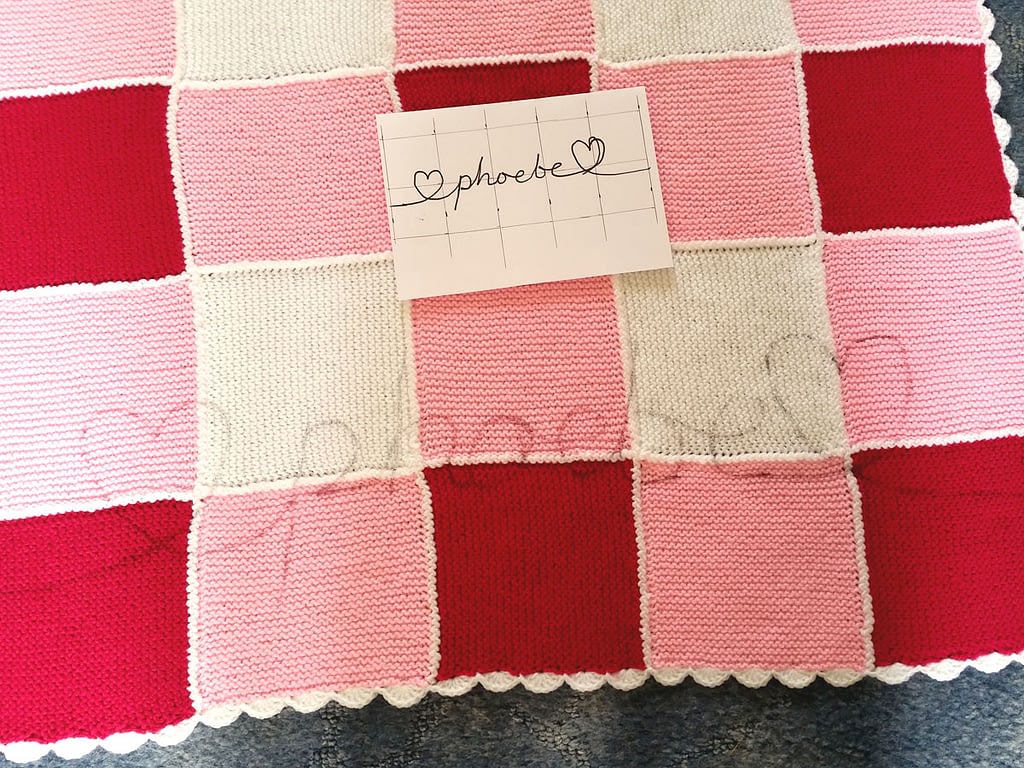
Working one square at a time, carefully draw your design on to your project, using your grid lines as a guide.
Almost. I need a bit more practice. But I was silly and used permanent marker so I can’t undo this now. If you’ve used a temporary marker you can always wash your project and try again with the transfer.
Applying the i-cord
Using the How to Create an Amazing Applique Alphabet tutorial as a guide, you can now add your i-cord to seal your design in place.
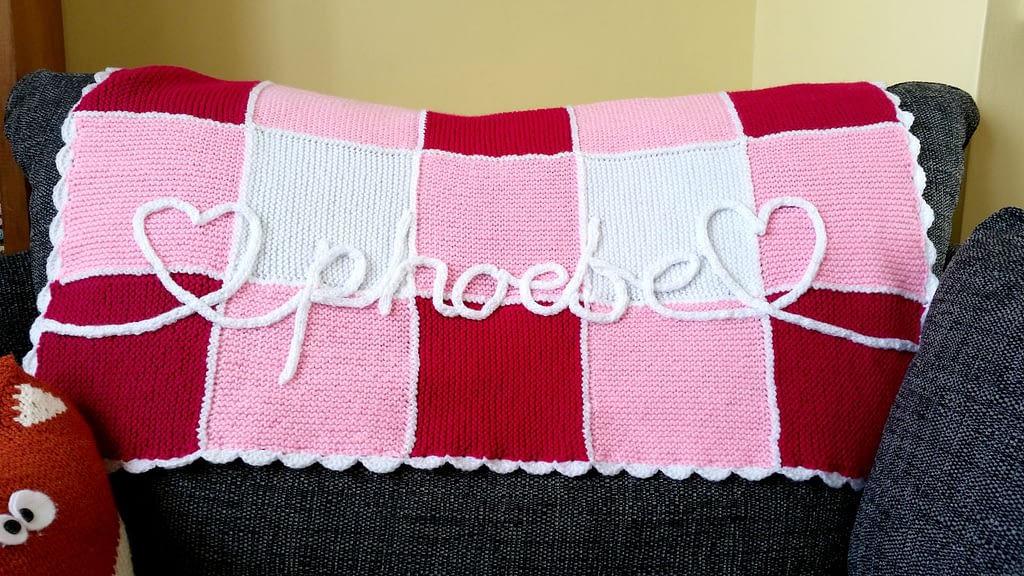
But one bit of advice… if you’re doing words similar to this, it may look better not to do one continuous i-cord. Letters like p, h, and b all have really long sections which, when writing, would traditionally be drawn back over themselves. Doing this with i-cord will create an overly bulky appearance in those particular places. So my advice is to stop and do the letters in sections. For example, I stopped just as a I joined into the p. I then did a little bit for the point at the top of the p. Then I starter at the bottom of the p and went up and around, before going in and up on the h. Starting again at the bottom of the h. O does a similar thing.
Now it’s time to go and make your personalised design. Please share this with your friends so they can learn this skill too, and leave a comment below letting us know how you got on.
Best wishes, Sam xox
P.S. If you want to receive new articles from us directly into your inbox, then please sign up below.


1 Comment
How to Create an Amazing Appliqué Alphabet - The Fated Knitter · 1st November 2023 at 9:48 am
[…] scale it and then transfer it to your project. To push your skills to the next level check out this tutorial on how to do just […]