Are you looking to elevate your appliqué skills? Or just learn them for the first time?
Whether you are making alphabet squares for a blanket, adding an entire word, or applying motifs and symbols to your knitting, creating amazing appliquéd designs is a lot easier than you may have believed.
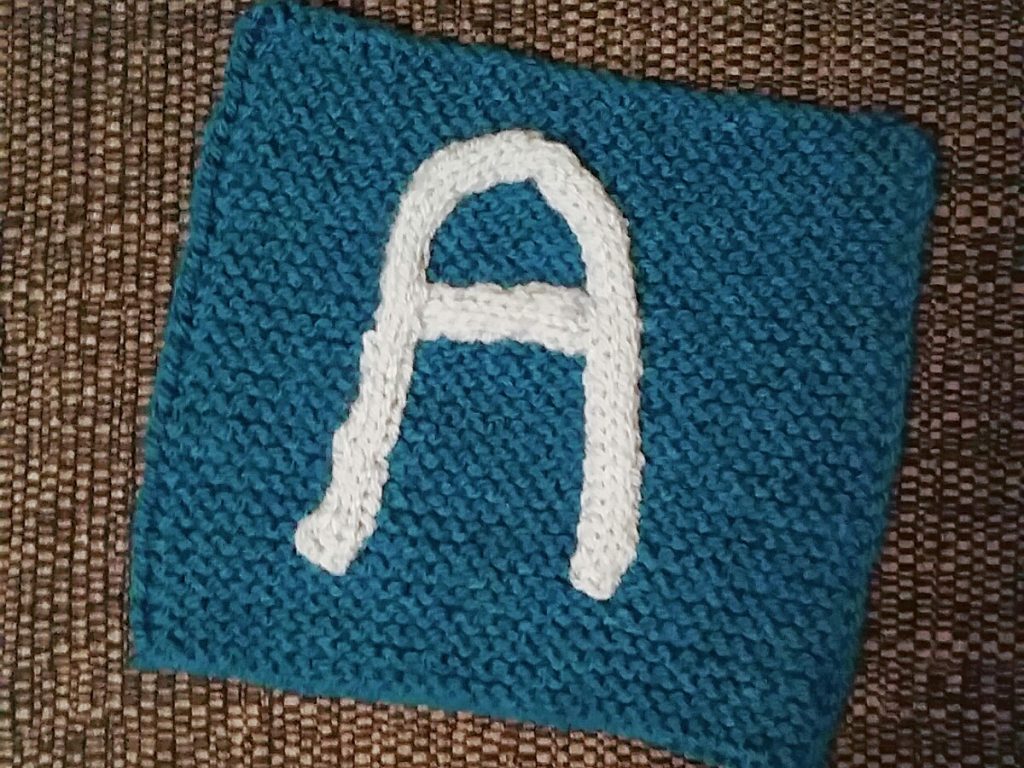
This used to be me…
And this is me now…
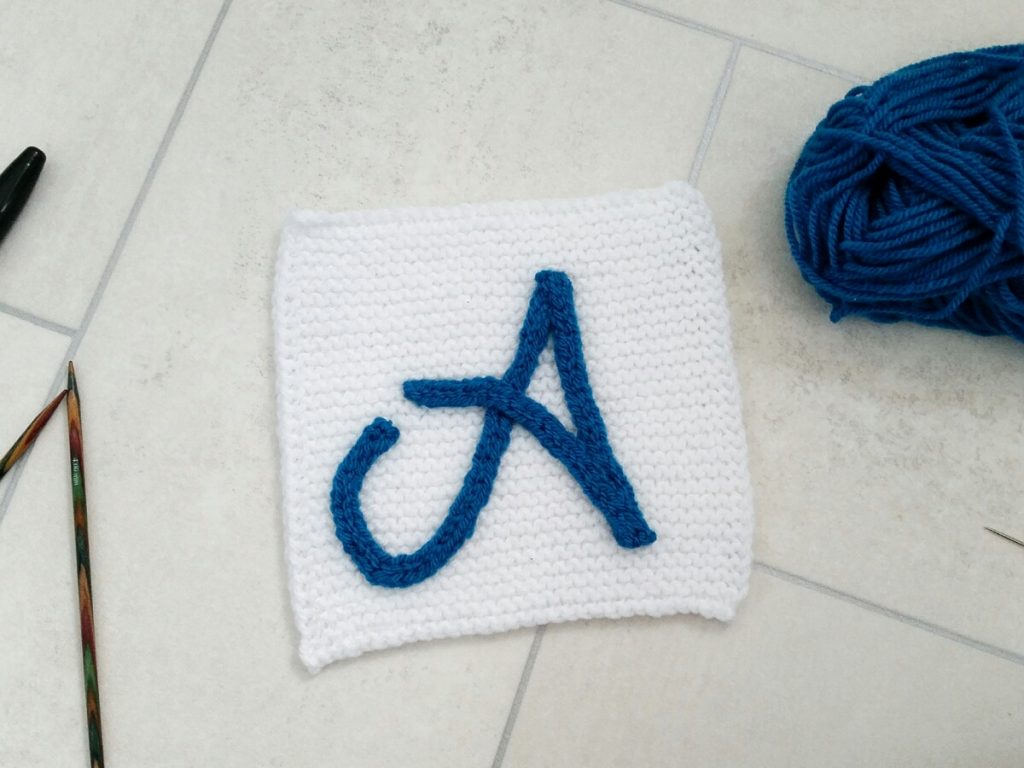
Quite a difference right?
This tutorial will help you transform your skills from “meh” to “amazing” with the applied i-cord technique!
The tutorial explains how to add a letter to a knitted square, however, the same principles apply to motifs and symbols, words, whole blankets, cushion covers, jumpers, and so on…
Materials
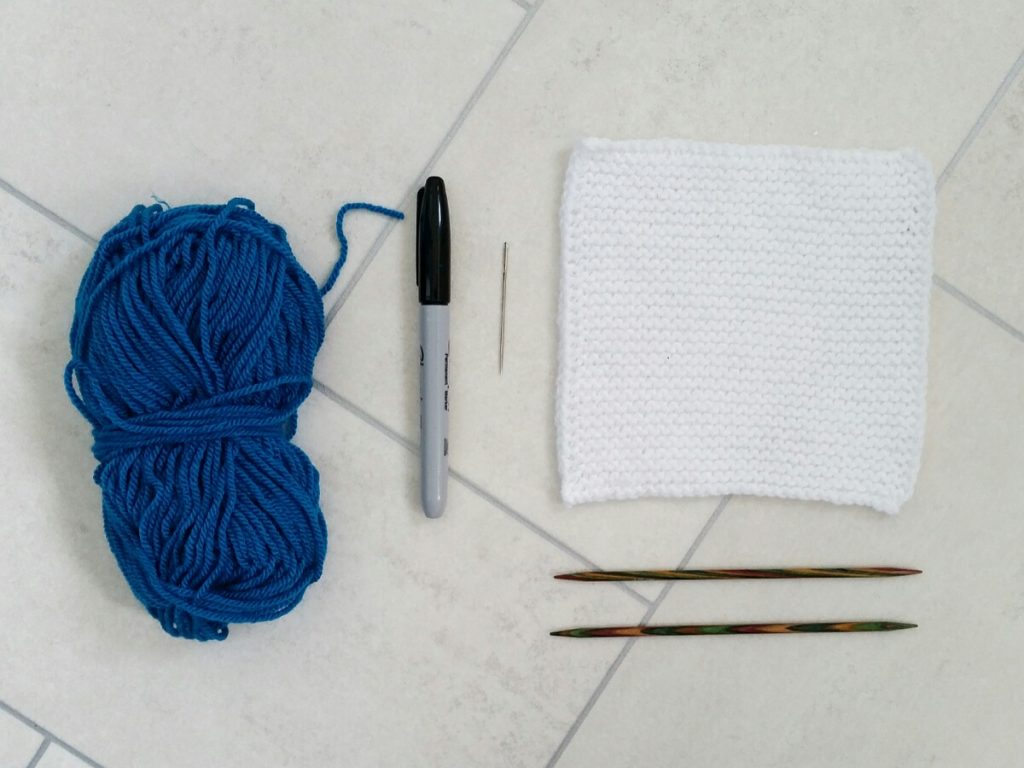
To get started you will need:
- Double pointed needles (DPN)
- Something to sew your i-cord on to
- A darning needle
- A marker pen
- Yarn
- Scissors
Tutorial
Getting Started
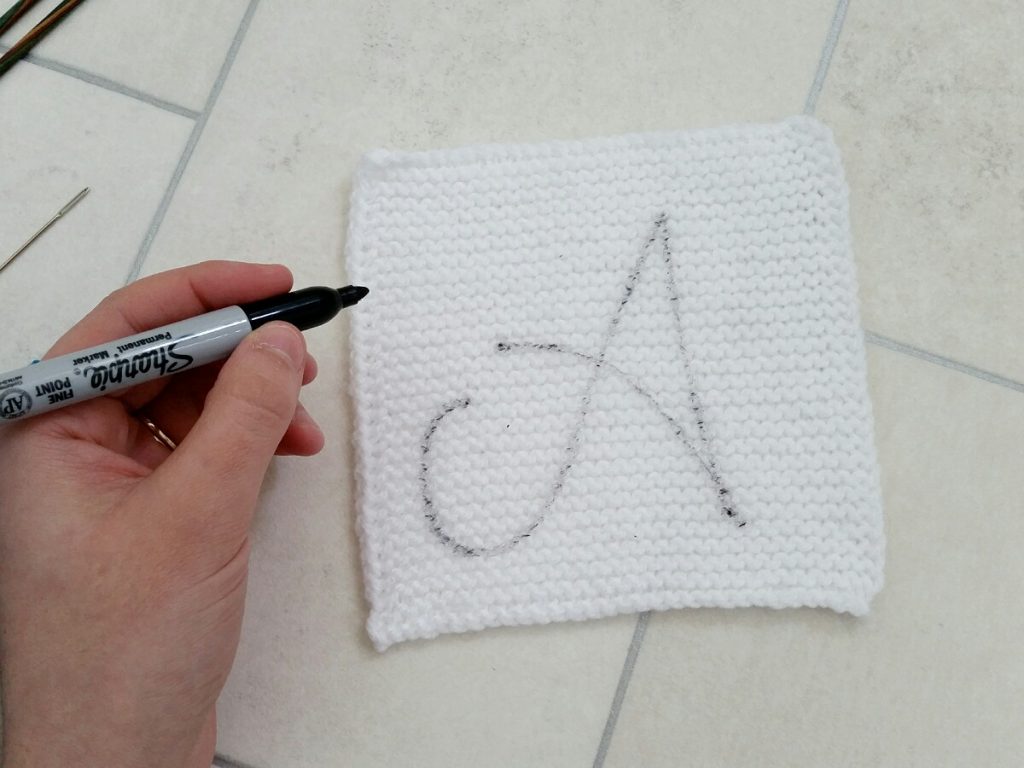
1. Draw your letter on to the square using the marker pen. It may help to practice on a piece of paper first. There are lots of pretty fonts online if you need inspiration.
2. You will need a tail to sew your letter on to your square. Lay your yarn over the letter. This gives you half of your tail.
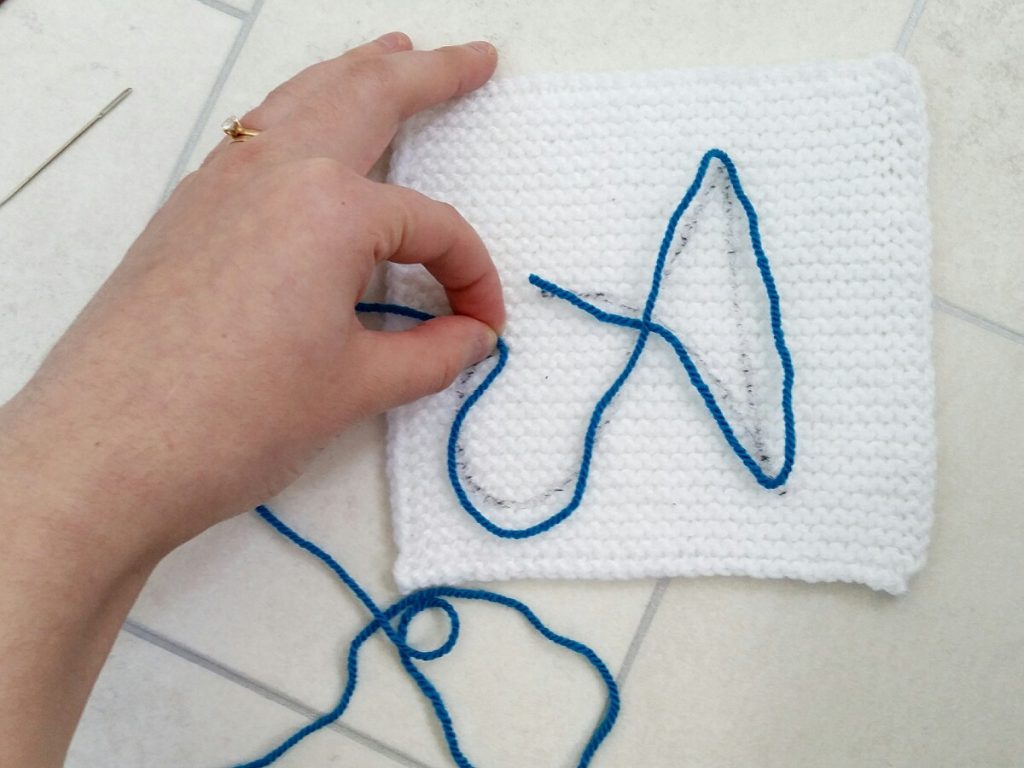
3. Double the yarn from step 2 to get the full length of the tail. Add a slip knot at this point.
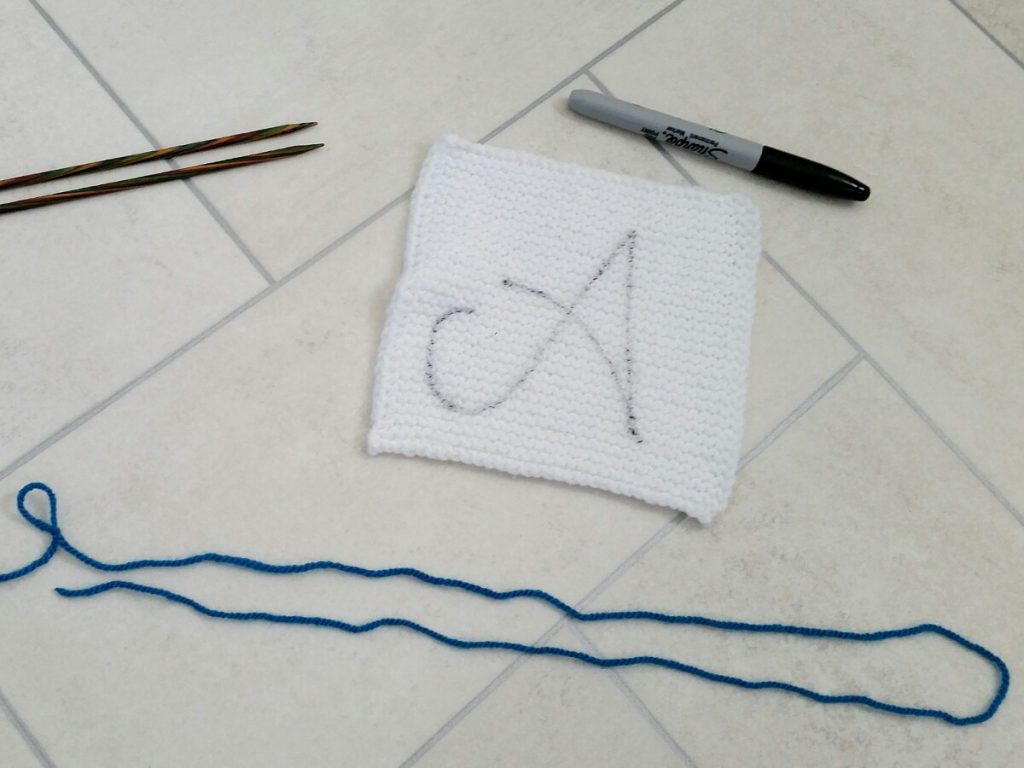
Making the i-cord
4. Place the slip knot on your DPN and cast on two more stitches. You should have three stitches on your needle.
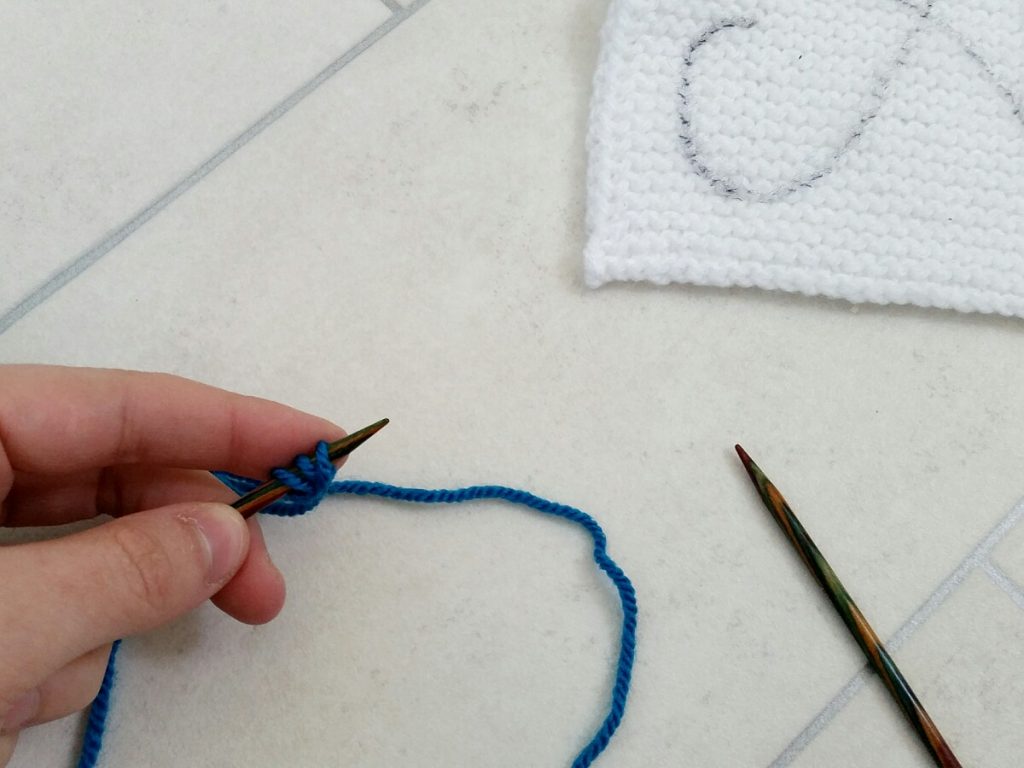
5. Knit these three stitches, and without turning your work (this is important!) slide your stitches to the other end of your DPN. The right side of your work should still be facing you.
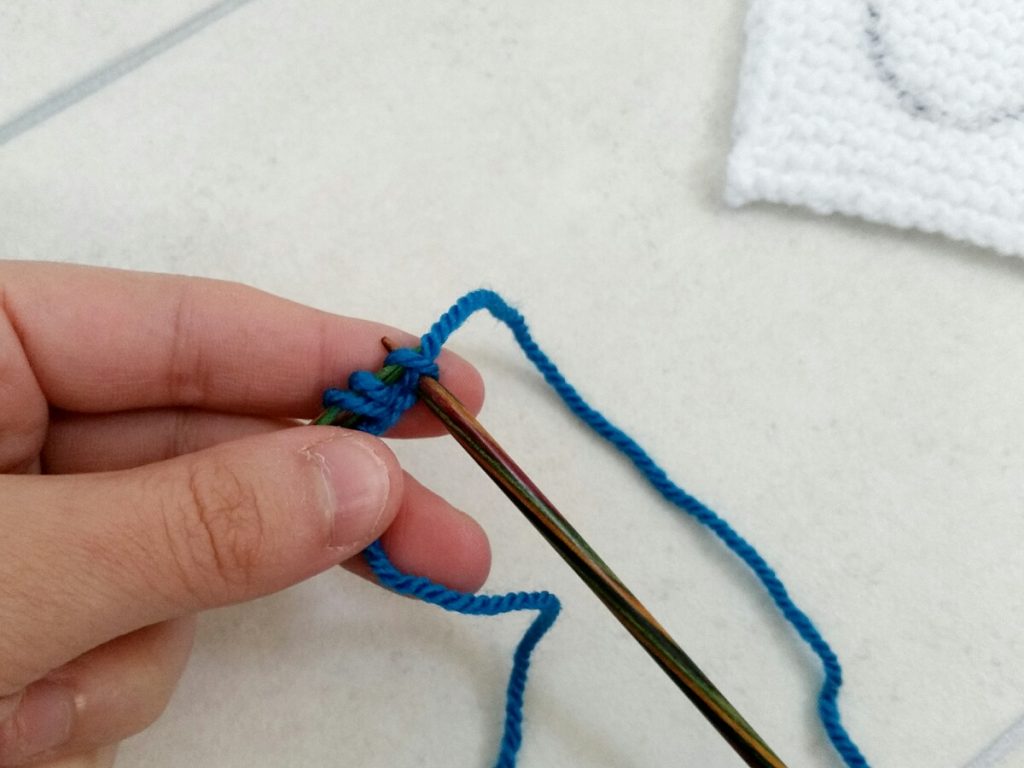
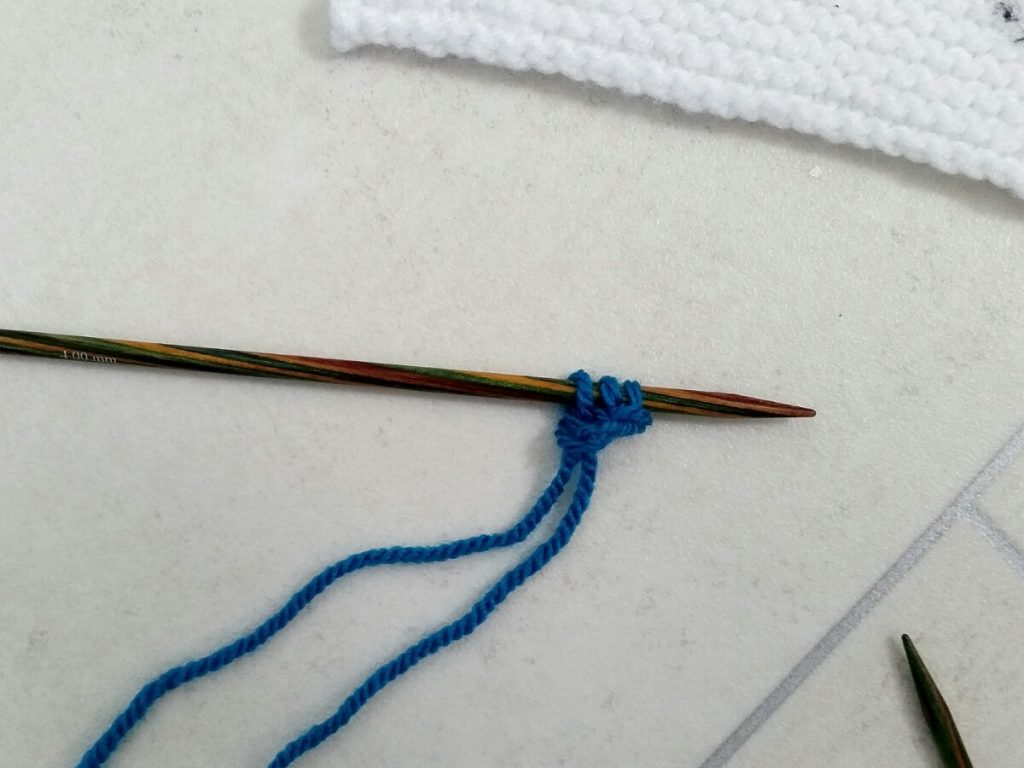
6. As you repeat step 5 your i-cord will grow longer. Regularly place your i-cord on the marker line to check your progress. In the example, we are knitting around the curve in the line, and we want to stop closer to the top of the A where the line changes direction (where my finger is pointing).
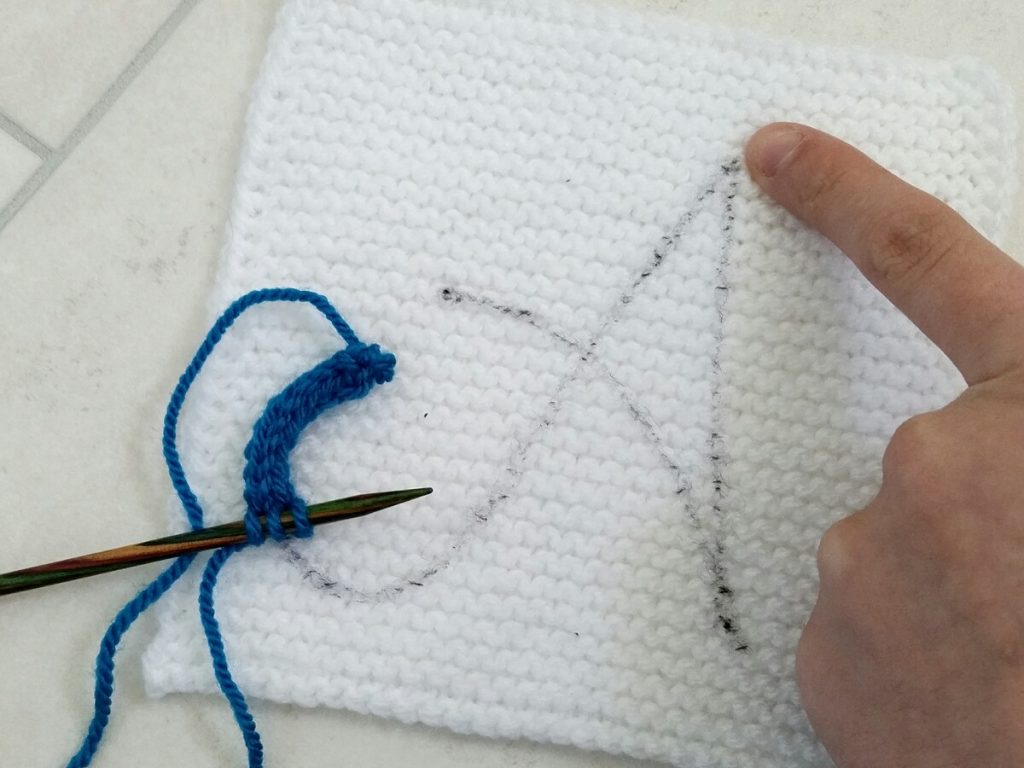
7. As your i-cord starts to get longer I recommend to start sewing this down. It makes it easier to ensure the correct length of i-cord is made.
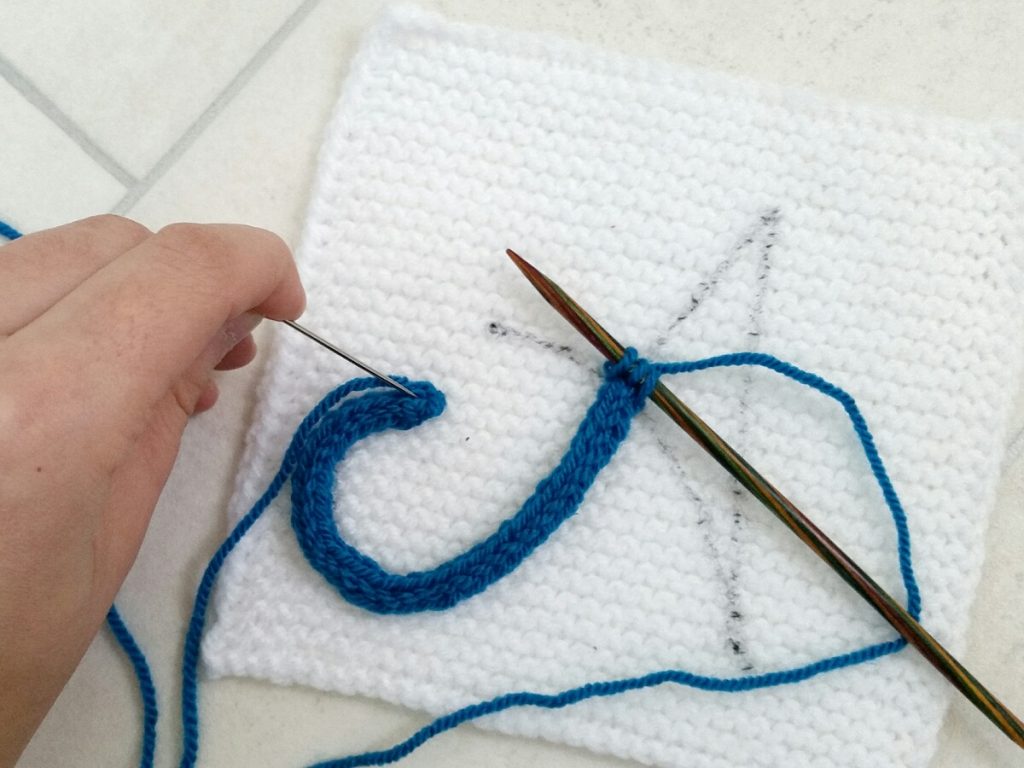
8. A few stitches at the start will help to keep the end secure…
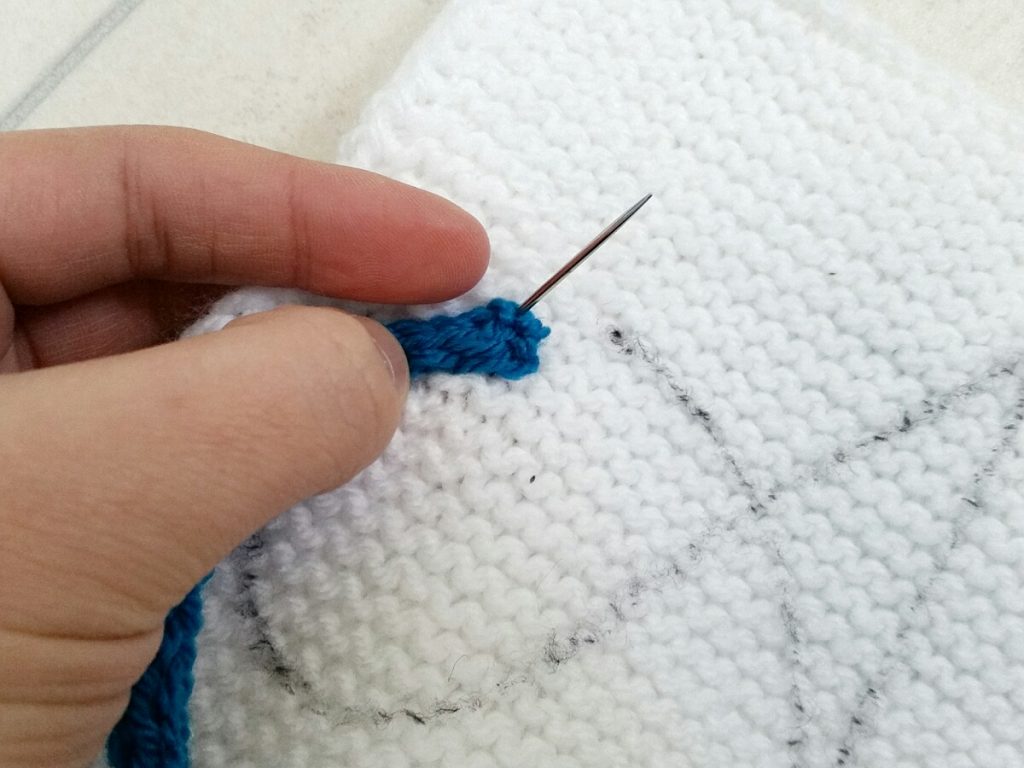
9. …but a simple running stitch is usually sufficient for the majority of the i-cord.
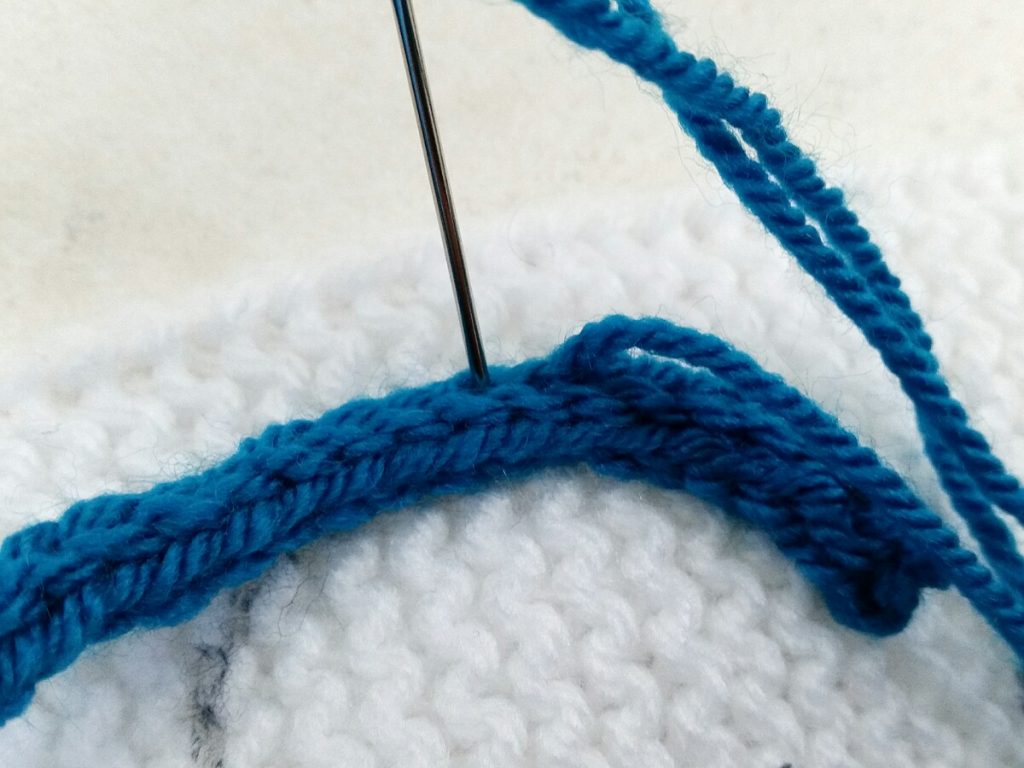
10. When most of it is sewn down, continue knitting your i-cord as in step 5…
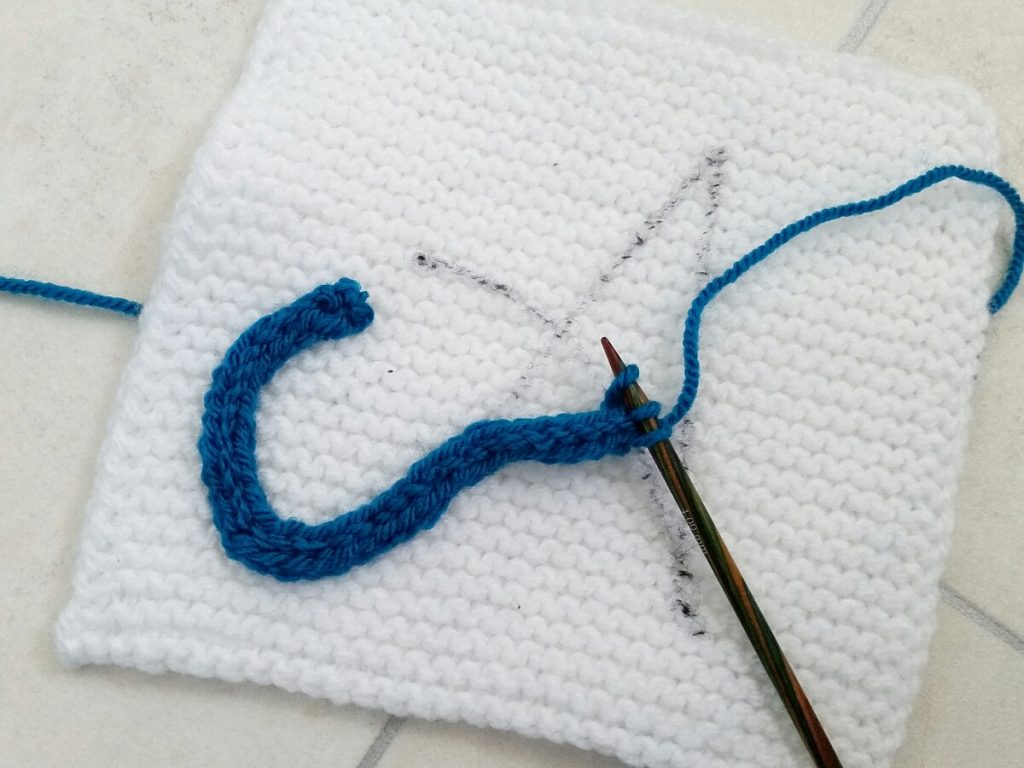
11. …until you reach the corner in the letter.
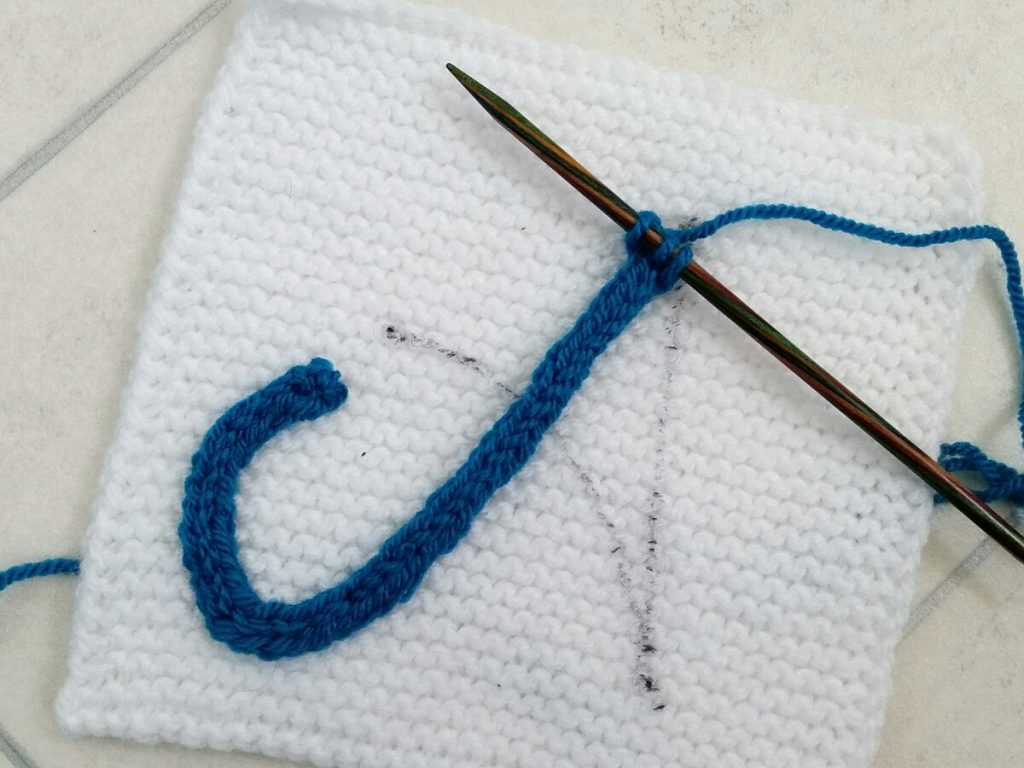
12. Sew down the i-cord up to the corner. It helps to secure this corner with a couple of extra stitches.
Turning the corner
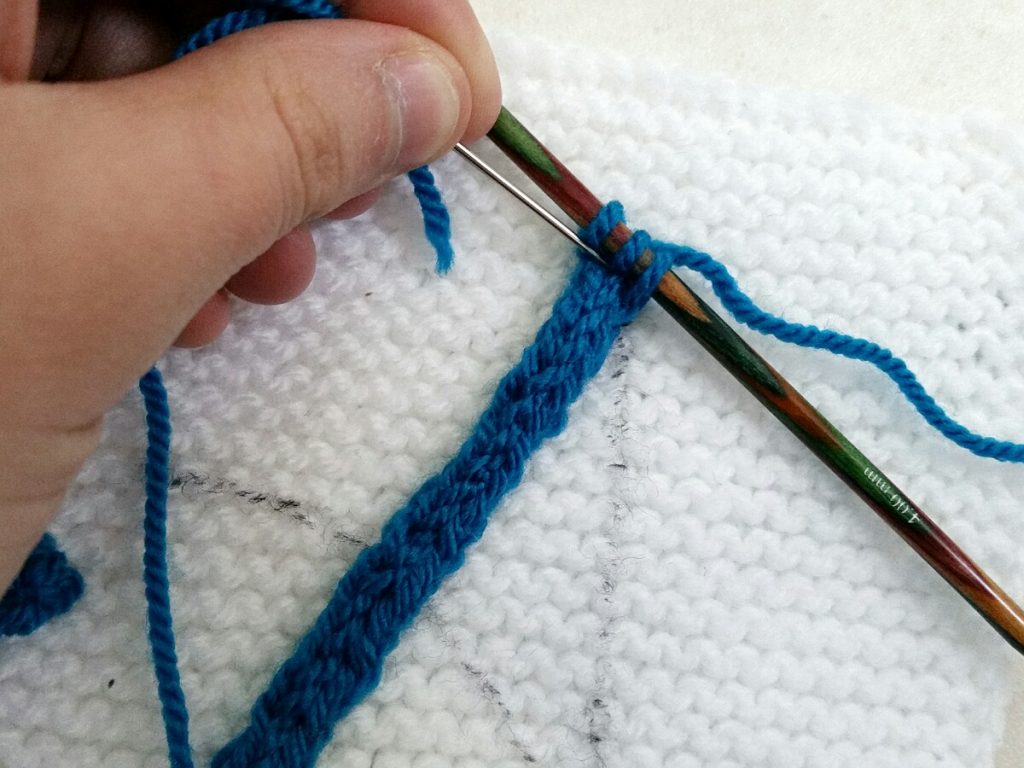
13. When you get to a corner you turn your work and knit the three stitches. Your i-cord is now going in the opposite direction so the right side of your knitting needs to be on top again.
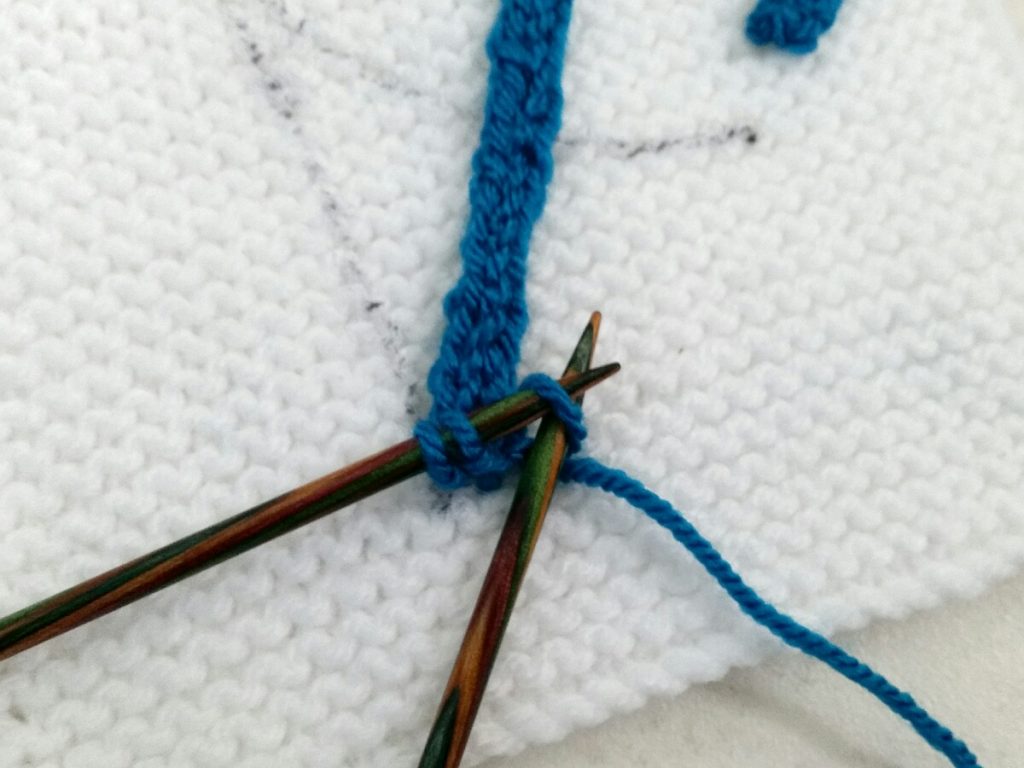
14. As your i-cord starts to get longer, sew it down. A few extra stitches in the corner to secure it and running stitch for the rest as before.
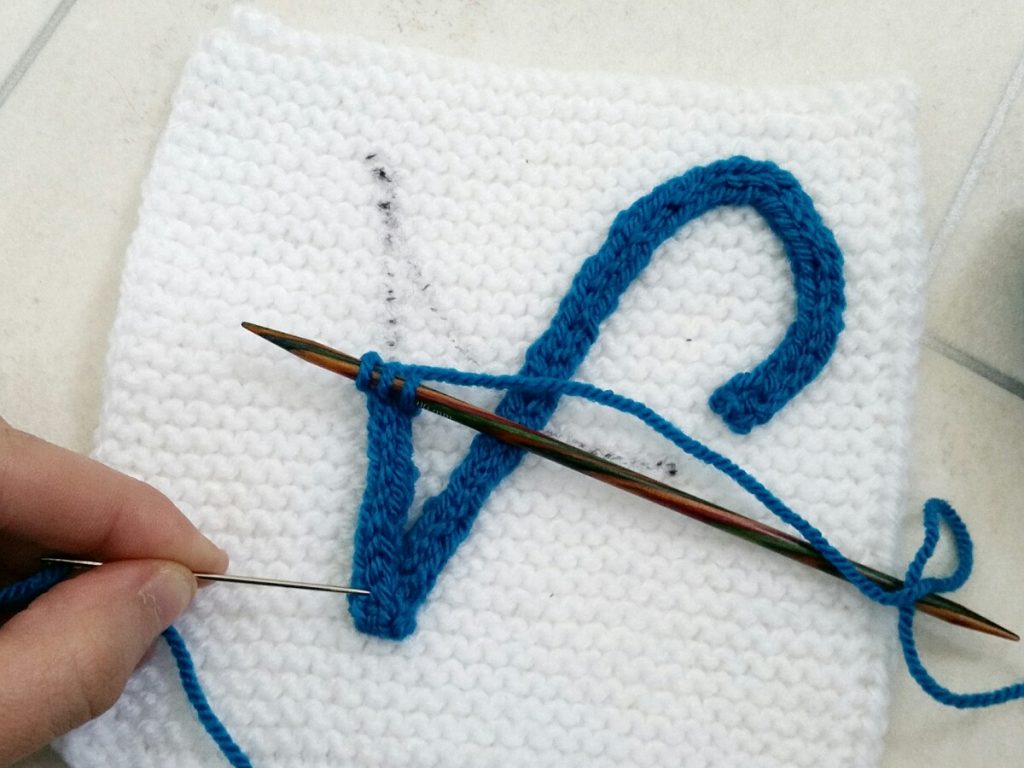
15. When you get to the next corner, sew down the i-cord made so far, as in step 12. As you are in a corner and need to change the direction you need to turn your work again so the right side is on top.
Finishing
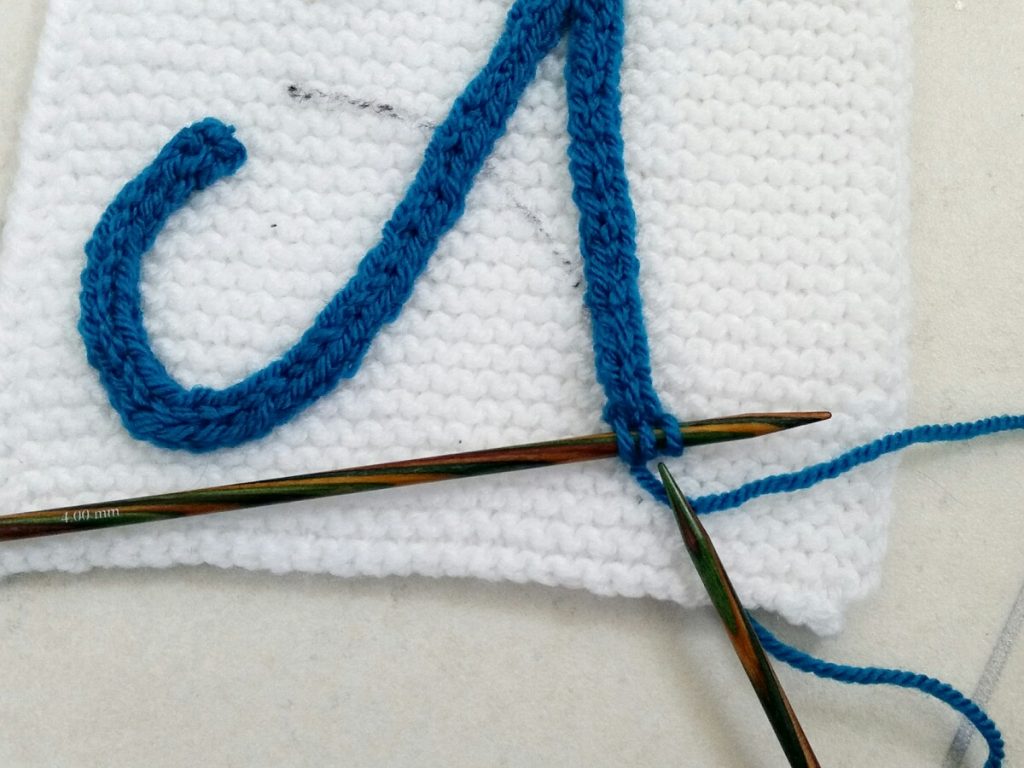
16. When you get to the end of your letter bind off and sew down the remainder of the i-cord…
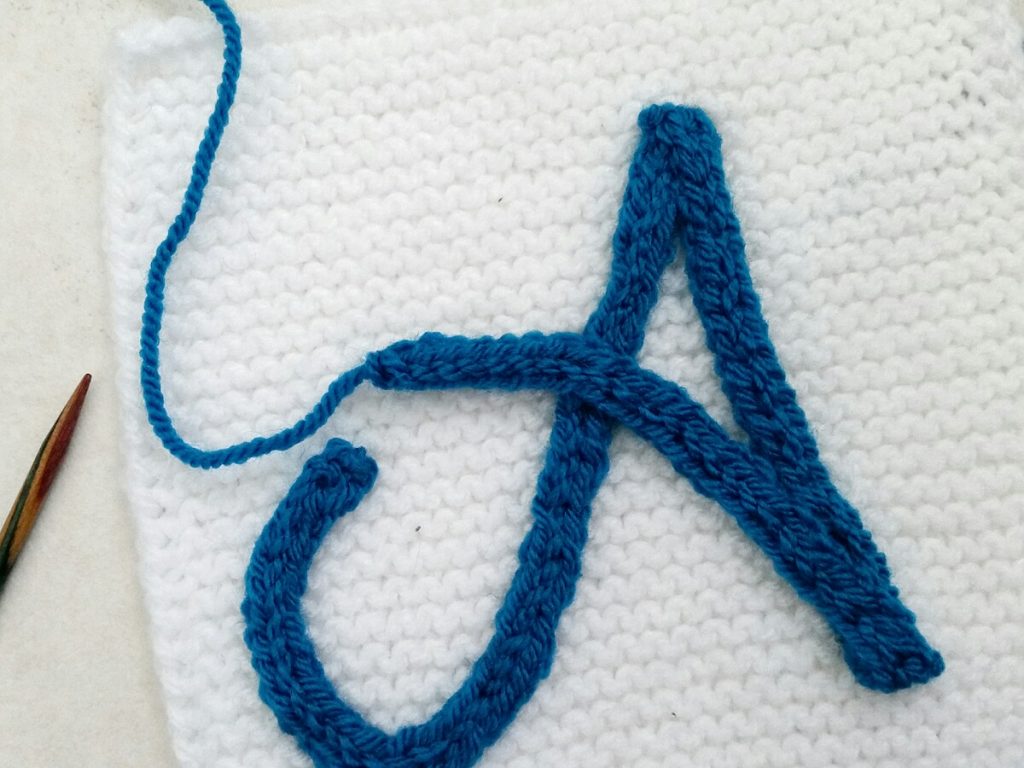
17. …I tend to stop about an inch away and use the cast-off tail to sew back along. This eliminates any potential bulk from sewn-in yarn ends building up in the one spot.
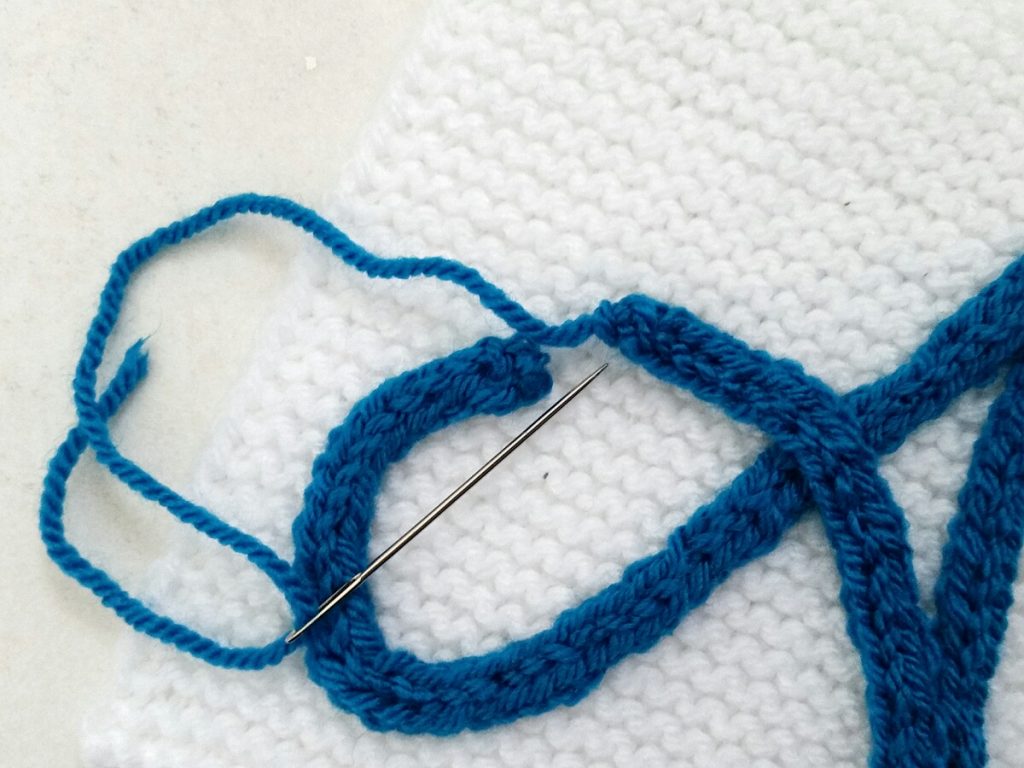
18. Sew in your yarn ends. Weave the needle through the back in one direction…
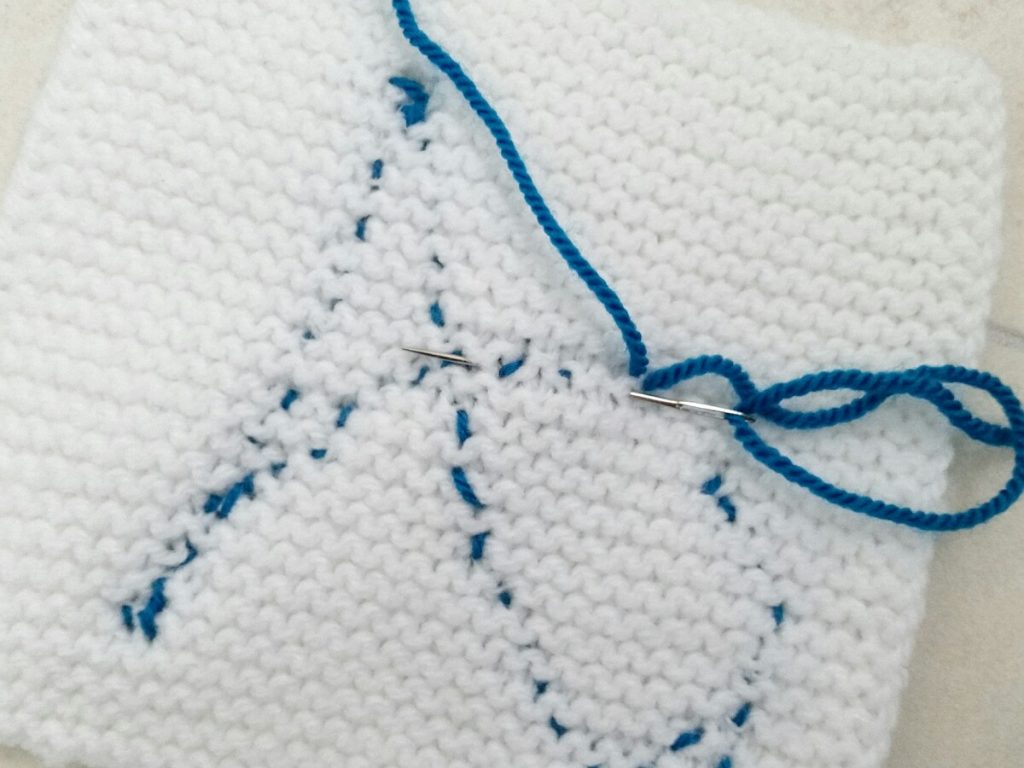
19. …and then back on itself.
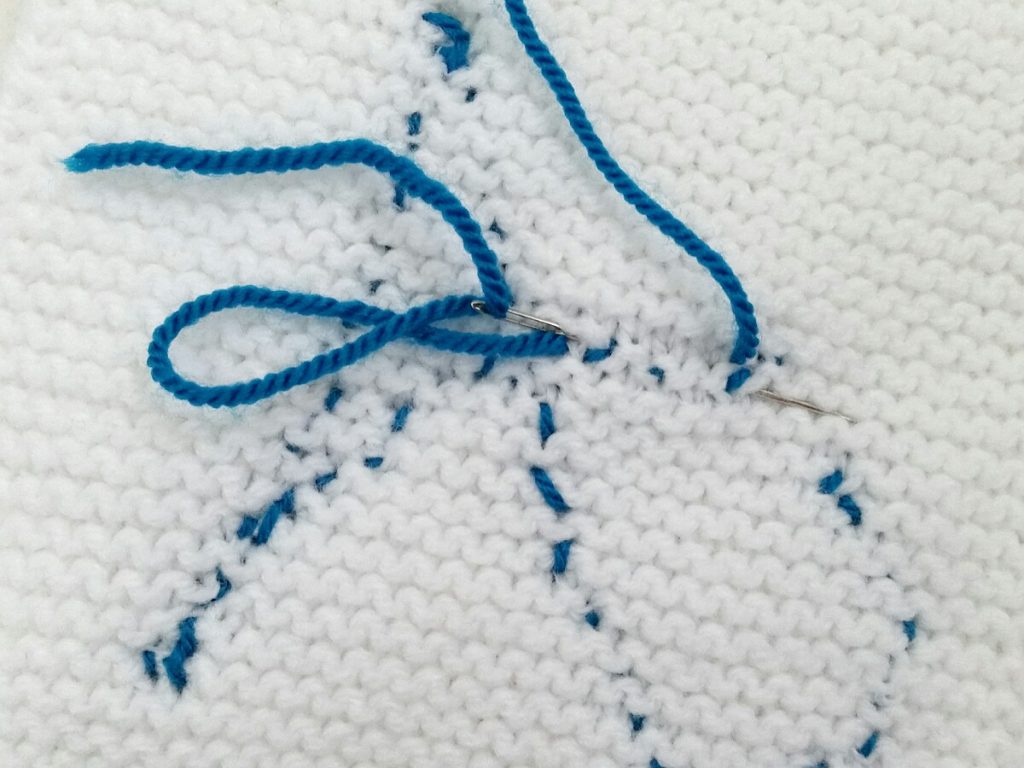
20. If you followed my tip in step 17, then I recommend sewing one yarn end in one direction, and the other yarn end in the opposite direction.
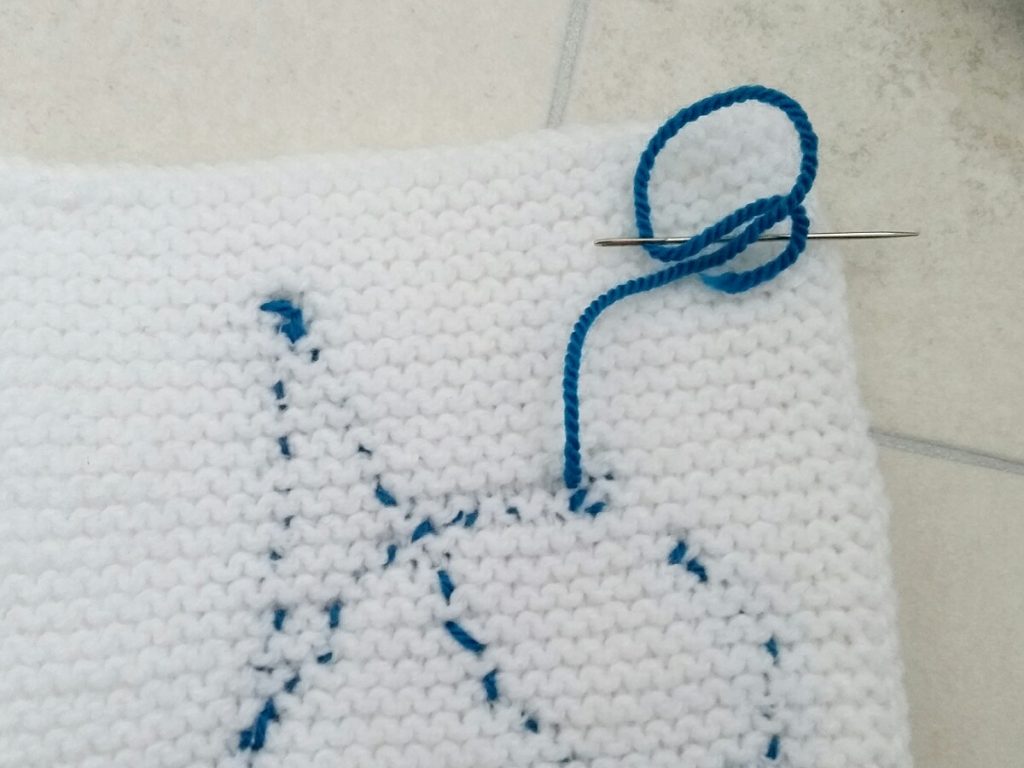
And voila! Your finished amazing appliqued alphabet square!

You don’t have to stop at letters though. Here are some musical symbols I added using the same applied i-cord technique.
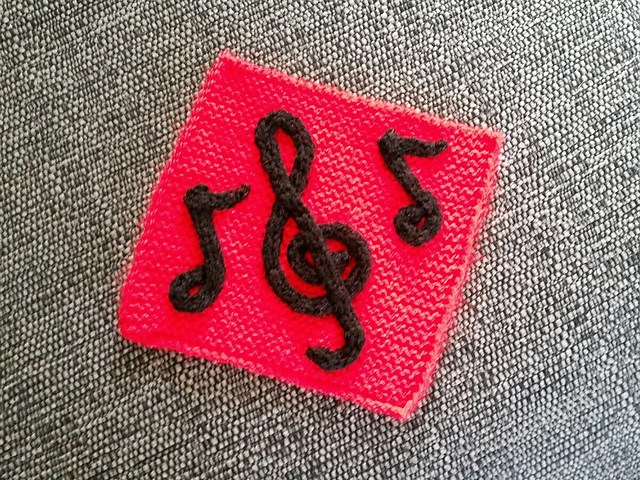
To sum up there are 4 major rules for creating amazing i-cord applique…
- Draw on your design
- Knit around the curves
- Turn your work at a corner
- Sew down as you go
To work on larger designs, it may be best to draw your design out first, scale it and then transfer it to your project. To push your skills to the next level check out this tutorial on how to do just that.
If you enjoyed this tutorial I’d be grateful if you would help it spread by sharing it with a friend.
Best wishes, Sam xox
P.S. If you want to receive new articles from us directly into your inbox, then please sign up below.

1 Comment
Raj · 1st April 2022 at 11:27 pm
Thanks a lot for this tutorial, I wanted to make this for my GD’ cardigan.